
Last updated October 30, 2026
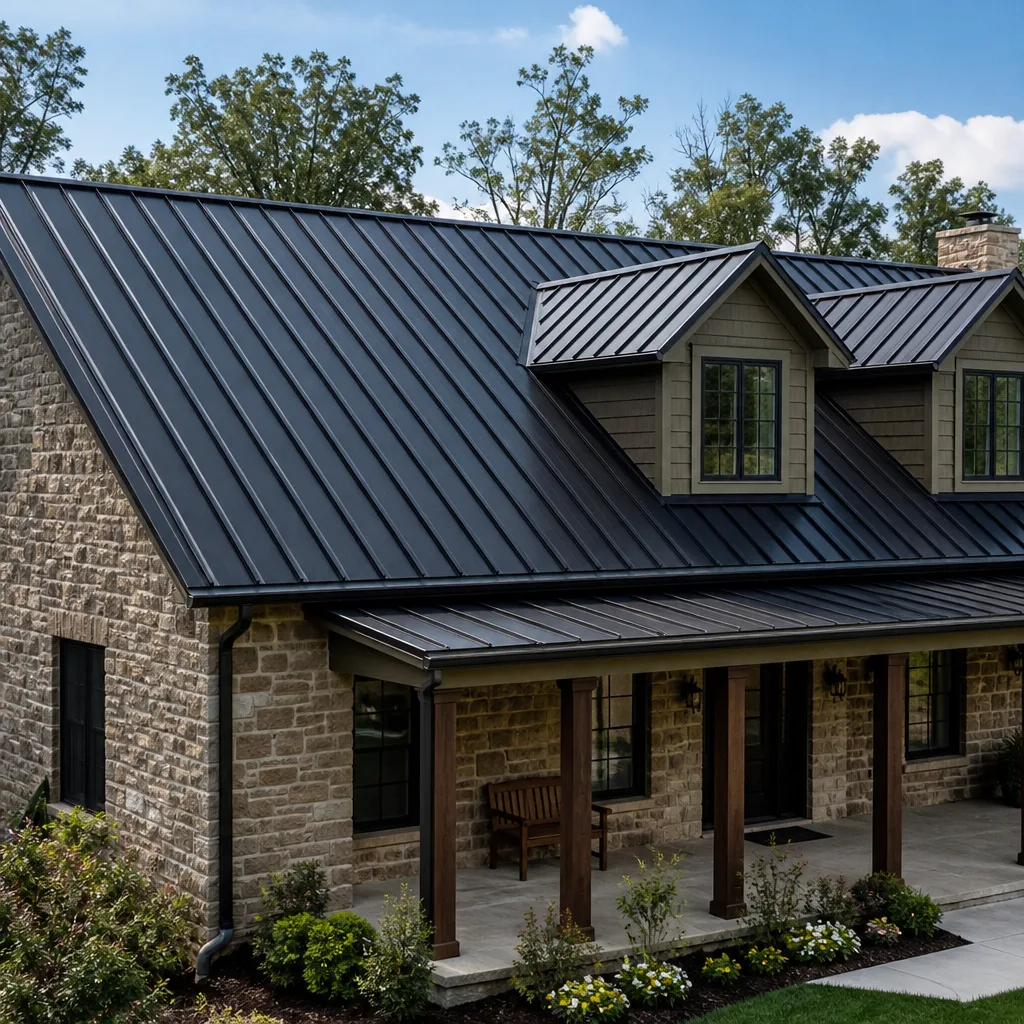 Metal roofing
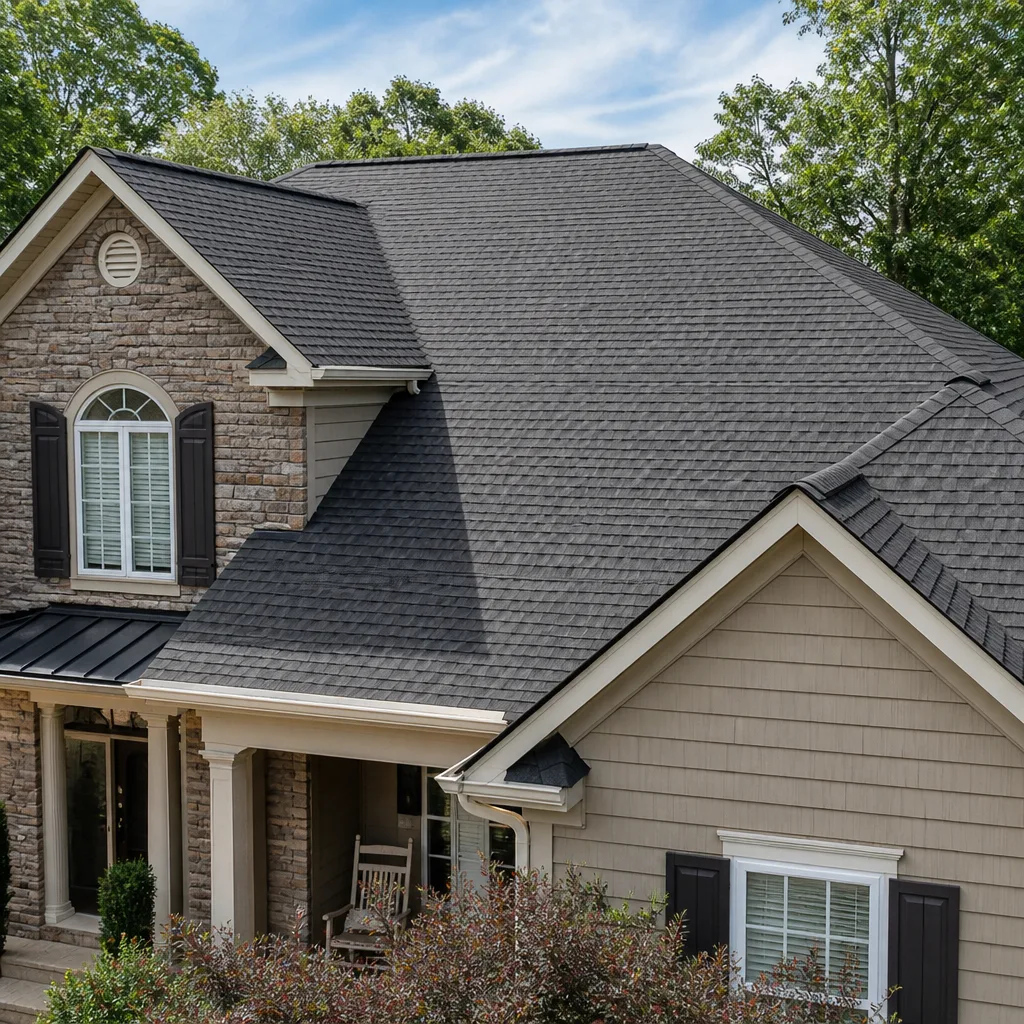 Architectural shingles
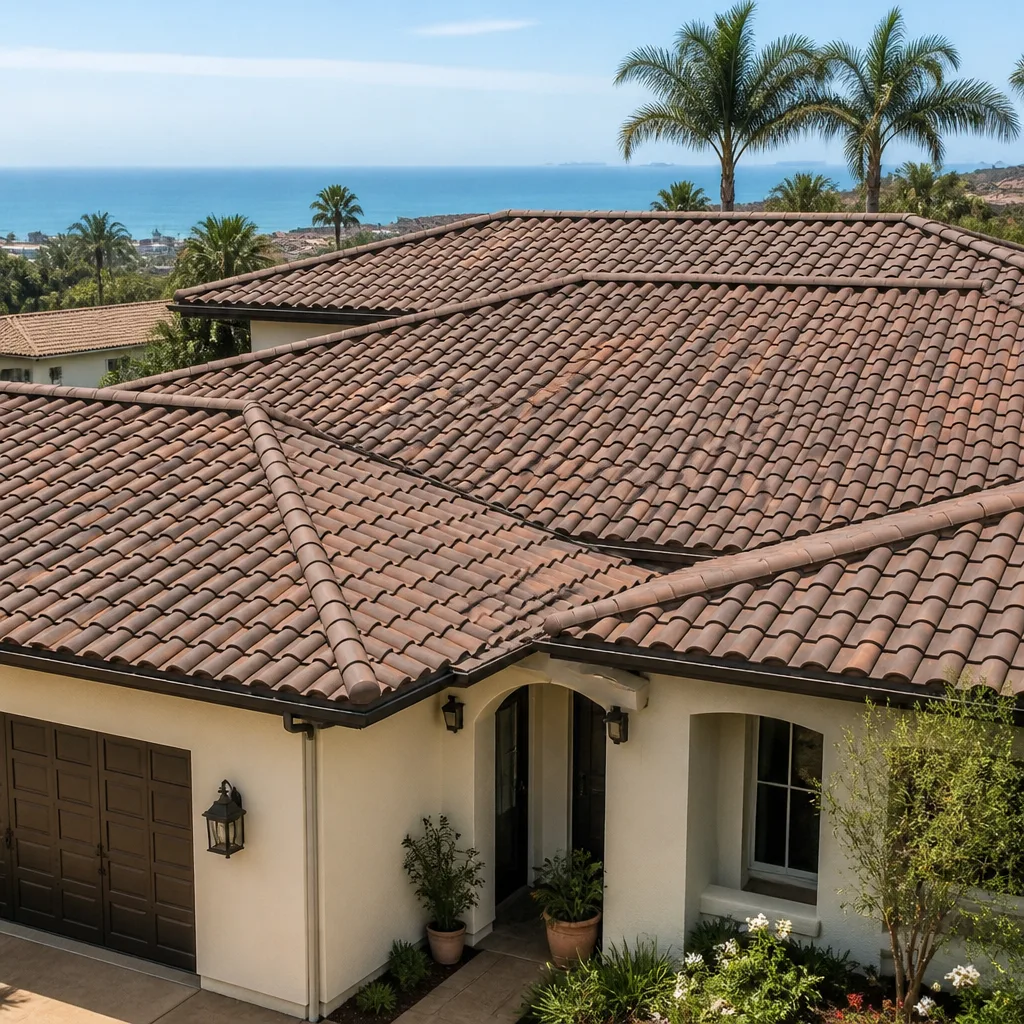 Tile roofing
 GAF
 Owens Corning
 Flat & low-slope
Free roof inspection with deck photos before we talk money - GAF and Owens Corning certified installation
Roofing Emergency Preparedness Guide for San Bernardino Homes
Every October, San Bernardino homeowners start watching the forecast with the same low-grade dread. Santa Ana winds can gust to 60 or 70 mph through the Cajon Pass, and those winds do not care how long your roof has been fine. What surprises most people is not the wind itself. It is discovering in the middle of the night that a lifted shingle tab, a failed pipe boot, or a ridge cap that lost its seal three years ago has been quietly waiting for exactly this weather. This guide is built around the decisions you make before the wind starts. Because the homeowners who fare best in San Bernardino wind events are rarely the ones with the fastest tarp crew on speed dial. They are the ones who spent $40 and one Saturday afternoon in September making sure the most exposed parts of their roof were sealed, fastened, and documented.
Quick Answer
Roofing emergency preparedness in San Bernardino means inspecting and sealing the five highest-risk roof components before Santa Ana season starts in October, knowing how to contain interior water damage without making it worse, and having a documented protocol for tarping, insurance photos, and contractor vetting ready before you need it. Emergency tarping after a wind event typically runs $800 to $2,500, while a pre-season inspection costs $40 to $200 and repairs to the specific failure points that cause most emergency calls usually stay under $400. The homeowners who avoid the worst outcomes are the ones who treated September as the deadline, not the time to start thinking about it.
Styles & brands we work with
Table of Contents
- The Pre-Season Inspection: Five Components That Cause Most San Bernardino Emergency Calls
- Interior Leak Control: What to Do When Water Is Coming Through the Ceiling
- What a Legitimate Emergency Tarping Job Actually Looks Like
- Insurance Documentation Protocol: Photos, Sequence, and What Not to Touch
- How to Vet an Emergency Roofing Contractor at 10pm After a Wind Event
- Understanding How Santa Ana Winds Actually Damage San Bernardino Roofs
- From Tarp to Permanent Repair: What the Next 30 Days Should Look Like
The Pre-Season Inspection: Five Components That Cause Most San Bernardino Emergency Calls
We inspect roofs in San Bernardino year-round, and the pattern after every major wind event is remarkably consistent. The same five components fail. The same five components could have been caught in September. The emergency is rarely a surprise to anyone who looked. When we perform a Roof Inspection in San Bernardino before the season turns, we are specifically hunting these five failure points, because they account for the overwhelming majority of wind-driven leaks and blow-offs we see in the Inland Empire.
- Ridge cap seal integrity. The ridge cap is the highest, most exposed detail on any roof. It takes the full brunt of wind shear coming through the Cajon Pass. Ridge caps fail at the sealant line first, then at the nail points. Once a ridge cap lifts, wind gets under it and peels it back like an envelope. This is the most common cause of major roof loss during Santa Ana events. Check for cracked sealant, exposed nails, or any cap that wiggles when pressed.
- Pipe boot gaskets. The rubber collar around plumbing vent pipes degrades under San Bernardino’s intense UV exposure. After three to five years, the rubber cracks and splits. When wind hits a split boot, it folds the rubber back and directs water straight into the attic. We see this on nearly every emergency call that involves a small, interior leak during a wind event, not a blow-off.
- Edge flashing and drip edge attachment. Wind creates uplift at the roof perimeter. If drip edge is loose or missing fasteners, the first thing you will see after a wind event is metal peeling away from the fascia. That exposed edge then catches wind and can start a zipper failure along the first course of shingles.
- Valley metal and transition flashing condition. Valleys concentrate water flow and wind turbulence. Loose or corroded valley metal under a wind load creates an entry point for driven rain. The same applies to the transition flashing where roof planes meet walls or chimneys. If caulking is cracked or flashing is lifting, September is the time to reseal it.
- Loose or missing shingle tabs, especially on the prevailing wind side. Walk the roof or inspect from the ground with binoculars. Look at the side of the roof that faces the Cajon Pass. In most San Bernardino neighborhoods, the west and northwest roof faces take the worst of the Santa Ana load. Any tab that is not fully sealed to the shingle below it will lift. Once one tab lifts, the shingle behind it catches wind, and the failure accelerates.
The fix for most of these items is one tube of quality roofing sealant and a handful of replacement fasteners. Total material cost: under $40. The alternative is the call at 2 a.m. when the storm is at its peak and water is coming through the hallway ceiling. If you are not comfortable getting on the roof yourself, hire a licensed inspector to do it. The Roof Repair in San Bernardino work that prevents an emergency is almost always a fraction of the cost of the emergency response itself.
Interior Leak Control: What to Do When Water Is Coming Through the Ceiling
When water starts coming through a ceiling during a San Bernardino wind event, the goal is simple: contain the damage without making it worse. The first instinct most homeowners have is to run for buckets, and that is right. But the second instinct is often wrong, and it can turn a $400 repair into a $4,000 ceiling replacement plus drywall work. Here is the sequence we recommend, in order.
- Puncture the ceiling at the lowest point of the bulge. If the ceiling is sagging with water, it means water is pooling above the drywall. A single, small puncture at the center of the lowest point allows water to drain in a controlled stream into a bucket. If the ceiling is not punctured, the pooled water will keep spreading and eventually collapse a larger section. Use a screwdriver or the tip of a pocket knife. Make one puncture. Do not cut a hole like you are opening drywall for a repair. One small hole controls the drain.
- Move contents, electronics, and fabric off the floor below the leak. Water travels along ceiling joists before it finds a point of entry, so the water you see coming through may be entering the roof 10 or 15 feet away. The damaged ceiling area will likely expand over the next few hours. Move anything you care about out of the room, not just out from under the visible drip.
- Stage a wet/dry vac if you have one, but do not remove wet insulation yet. A shop vacuum set up to catch the drip prevents puddling and secondary damage to floor finishes. However, do not start cutting out wet insulation or pulling down drywall while the storm is still active. You cannot dry anything that is still getting wet, and removing insulation changes the thermal and structural behavior of the ceiling assembly.
- Run a dehumidifier and a box fan in the affected area as soon as it is safe to do so. Air movement is the single most important factor in preventing mold growth in the first 48 hours. A dehumidifier alone is not enough. Air movement prevents moisture from sitting on surfaces long enough for mold spore germination.
- Document everything before you move or cut anything. This is critical for insurance. Photos first, action second. We cover the full photo protocol below, but the short version is: photograph the ceiling before you puncture, during the active leak, and after you contain it.
The most common mistake we see in San Bernardino after a wind event is not the puncture. It is the homeowner who tore out six feet of drywall “to let it dry” before an adjuster or contractor saw the damage in its original state. That complicates the claim and removes evidence that helps establish the source of the leak.
What a Legitimate Emergency Tarping Job Actually Looks Like
Emergency tarping after a Santa Ana wind event in San Bernardino is expensive because the conditions are dangerous. Calling it expensive is not the same as calling it a markup. The math works out for a reason. A crew tarping a roof at 11 p.m. in 40 mph gusts is working at height, in the dark, on a damaged surface. The tarp itself costs $80 to $200 depending on size. The labor is the expensive part, and it should be, because a bad tarp job fails in the next wind event and you get to pay for it twice. Here is what separates a legitimate tarp job from a rushed one.
- Fastening method. The tarp should be anchored with screws and furring strips or specialty tarp fasteners, not nails and not bungee cords. Screws hold under wind uplift. Nails back out. Bungee cords stretch and the tarp flaps, which tears it along the grommets.
- Overlap at the ridge. The tarp must extend over the ridge by at least three to four feet on both sides if the damage is near the peak. If the damage is lower on the roof, the tarp must extend past the ridge so wind moving up the slope does not get under the leading edge and lift it.
- Edge weighting. The bottom edge and side edges of the tarp must be weighted or sealed against wind entry. Loose edges are not just ineffective, they are a hazard to neighbors when the wind catches them.
- Seam and penetration sealing. A legitimate tarp job includes sealing around penetrations where the tarp meets vents, pipes, or chimneys. An unsealed penetration is a hole in the cover. It defeats the purpose.
- The “does it look ugly” test. A proper emergency tarp does not look neat. It looks like it is holding. Wrinkles as long as they are tensioned correctly are fine. A flat, smooth tarp stretched tight with screws every 12 to 18 inches is what you are after. If it looks slack, it will fail.
The tarp is temporary. It buys you time to get a proper repair or replacement scheduled and to work through the insurance process. If you are the one contracting the tarp work, watch the crew for five minutes. You are looking for a screw gun, not a hammer. If someone is up there with a nail gun, stop the job and call someone else.
Insurance Documentation Protocol: Photos, Sequence, and What Not to Touch
Insurance claims after San Bernardino wind events get denied or underpaid for one reason more than any other: the documentation was incomplete or the scene was altered before the adjuster saw it. The protocol below takes less than 20 minutes and makes a material difference in how smoothly the claim moves.
- Exterior overview photos first. Stand back far enough to capture the entire roof plane, the windward side, and the surrounding property. This establishes context and shows the general condition of the roof before you document specifics.
- Specific damage photos. Move in close. Document each missing shingle, lifted tab, loose flashing piece, or exposed decking area individually. If you can safely get on the roof, take the photo from above. If you cannot, take it from as close as the ground allows with the widest zoom possible. Do not risk your safety for a photo. A ladder in 40 mph wind is not a reasonable risk.
- Interior water entry photos. Photograph the ceiling before you puncture it, after you puncture it, and the floor area below. Include a wide shot of the room so the adjuster can see the full context.
- Tarp process photos. If you tarp before the adjuster arrives, photograph the roof before tarping, the tarp being installed, and the finished tarp job. This shows the adjuster exactly what condition the roof was in before you covered it.
- Photo metadata. Do not edit or compress your photos. The original files carry timestamp and location metadata that adjusters use to verify the timeline. Screenshots or edited photos raise red flags.
- What not to touch. Do not remove damaged shingles, do not cut out wet drywall, do not pull up wet insulation, and do not start any repair work beyond temporary tarping and interior containment until the adjuster has either visited the property or confirmed in writing they do not need a site visit. If the adjuster waives the site visit, you still want the damage documented and preserved until that confirmation is in hand.
The sequence matters. Overview first establishes the roof was in reasonable condition before the event. Specific damage photos document the failure. Interior photos tie the damage to the water entry. Tarp photos prove you took reasonable steps to prevent further loss, which most policies require as a condition of coverage.
How to Vet an Emergency Roofing Contractor at 10pm After a Wind Event
After a major wind event, San Bernardino gets flooded with out-of-area roofing crews. In fact, some are legitimate storm chasers who do decent work. Some are not. In fact, some are unlicensed operators with a rented truck and a magnetic sign, and they target desperate homeowners exactly when the homeowner is least equipped to check credentials. The good news is that the two most important checks take less than five minutes combined, and they eliminate the highest-risk operators immediately.
- Check the California Contractors State License Board (CSLB) license. Go to the CSLB website on your phone. Enter the license number the contractor gave you. Confirm the license is active, the classification is a roofing classification (C-39 Roofing Contractor, or the correct B classification if applicable), and the business name on the license matches the company you are talking to. If the license is suspended, expired, or the name does not match, end the conversation. This takes about two minutes. A legitimate roofer will not hesitate to give you their license number.
- Verify workers’ compensation insurance. On the same CSLB page, you can see whether the contractor carries workers’ compensation coverage. This matters because if an uninsured roofer falls off your roof, the injury lands on your homeowners policy. That is not a small exposure. It can be a six-figure exposure. If the contractor cannot produce a workers’ comp certificate, do not let anyone on your roof. This check takes another two minutes.
Beyond those two checks, apply the same standard you would for any contractor: get a written scope and price before work starts, do not pay in full upfront, and be wary of anyone who shows up unsolicited in a storm-damaged neighborhood offering free inspections. The legitimate local crews are busy, but they answer their phones and they do not pressure you into signing anything at the door.
At Ridge Cap Roof Repair home, we handle emergency response, but our real value is that we handle Inspection, Repair, and Replacement under one crew. When we tarp a roof, the same team that later does the permanent work knows exactly what is under that tarp. Nothing gets lost in a handoff to a subcontracted repair crew. In the moment, the vetting is about keeping unlicensed operators off your property. For the long term, you want a contractor who can take the job from tarp to finish without a scope gap.
Understanding How Santa Ana Winds Actually Damage San Bernardino Roofs
Santa Ana winds are not a generic storm. They are a specific phenomenon tied to the high-pressure systems that build over the Great Basin in the fall. The air descends through the Cajon Pass and the San Gorgonio Pass, picking up speed as it compresses and warms. By the time it hits San Bernardino, it is dry, gusty, and directional. The damage pattern is different from what you see after a frontal storm with sustained rain. Here is why it matters for your roof.
First, the wind is gust-driven, not sustained. A gust of 60 mph followed by a lull creates a cycle of loading and unloading on roof components. This is harder on fasteners and sealants than a steady wind because the material repeatedly flexes and recovers. Over multiple hours, each gust works loose any fastener that was already marginal.
Second, the wind is dry. Unlike a coastal storm, a Santa Ana event often arrives without significant rain. The damage is purely mechanical: lifted shingles, peeled flashing, unsealed ridge caps. The failure may not produce an immediate visible leak because there is no rain driving into the opening. Then the first real rain of the season comes in November or December, and the water finds the gap the wind created.
Third, the wind is directional. It comes out of the northeast. The roof faces that catch the worst of it are the northeast, north, and northwest exposures. The opposite faces often show almost no damage. This is why a pre-season inspection should focus on the windward side. It is also why a roofer who only looks at the street-facing slope might miss the damage entirely.
In our experience, the Santa Ana damage pattern in San Bernardino is concentrated on ridge caps, pipe boots, and edge flashing. The fix in September is sealant, fasteners, and diligence. The fix in December is a tarp and a claim. The roof does not know the difference. The homeowner does.
From Tarp to Permanent Repair: What the Next 30 Days Should Look Like
The tarp is not the finish line. It is a holding action. Here is the realistic timeline from wind event to permanent repair in San Bernardino, and the decisions you will make along the way.
Days 1-3: Stabilize and document. The roof is tarped, the interior is contained, and the documentation protocol is complete. You have filed the insurance claim or made the decision to pay out of pocket. You have vetted a contractor using the CSLB check described above.
Days 4-10: Assessment and recommendation. A full assessment determines the scope of the permanent work. The question is not “does the roof need repair?” The question is “does this roof need repair, or does the extent of the damage justify replacement?” The answer depends on the age of the roof, the condition of the underlying decking, the extent of the wind damage, and how the remaining life of the roof compares to the cost of the repair. A roof with five years of remaining life and $6,000 in wind damage is a different decision than a roof with 15 years of remaining life and $1,200 in damage. The honest answer is not always replacement. That is why we maintain a Roof Replacement in San Bernardino service that is only recommended when the numbers justify it, not when the invoice would be bigger.
Days 10-20: Materials and scheduling. Once the scope is set, material selection matters. San Bernardino’s climate demands materials that handle UV exposure and wind uplift. We work across seven manufacturers, including GAF, CertainTeed, Owens Corning, IKO, Atlas, Tamko, and Boral, because the right material for a 1920s craftsman in the historic district is not necessarily the right material for a 1990s track home near Cal State. We match the material to the roof, not to what is cheapest to stock.
Days 20-30: Permanent repair or replacement completed. The tarp comes off, the permanent work goes in, and the property is restored. The goal is a roof that performs through the next Santa Ana season and the one after that.
The homeowners who get through this sequence without surprises are the ones who made their pre-season decisions in September. They know what their roof looked like before the storm. They have a contractor’s number in their phone before they need it. They are not making a five-figure decision in a hurry at midnight. That is the entire point of emergency preparedness: the emergency becomes a problem to solve, not a crisis to survive.
Common Mistakes to Avoid
- Waiting for the first rain to discover the wind damage. Santa Ana winds often do their damage in October, then the rains come in November or December. A wind-damaged roof that is not inspected and repaired in between becomes a leak the first time it rains. The window between wind season and rain season is the cheapest time to fix the roof.
- Puncturing the ceiling in multiple places. One controlled puncture at the lowest point drains the water. Multiple punctures weaken the ceiling and create more drywall repair later. If the water pools in a second location, puncture that location too, but do not turn the ceiling into a sieve.
- Removing wet insulation or drywall before documenting the damage. The adjuster needs to see the scene as it was. Once you cut out the evidence, you are left explaining what it looked like instead of showing it. Photos first, demolition second, always.
- Paying a tarp contractor in full before the tarp is verified. Legitimate contractors take a deposit and collect the balance when the tarp is secure. An operator who demands full payment upfront in cash at 10pm is not someone you want on your roof.
- Using a nail gun or bungee cords for tarp fastening. These fail in the next gust. Insist on screws and furring strips. If the contractor argues, find a different contractor.
- Skipping the workers’ comp check because it is late and you are tired. An uninsured worker falling off your roof becomes your liability. The two minutes it takes to check the CSLB website is the cheapest insurance you will ever buy.
- Assuming the roof faces away from the Cajon Pass are fine. The windward side takes the visible damage, but the entire roof experiences the load cycling. A post-event inspection should cover every slope, not just the one that faces the mountains.
See the difference
 Before
 After
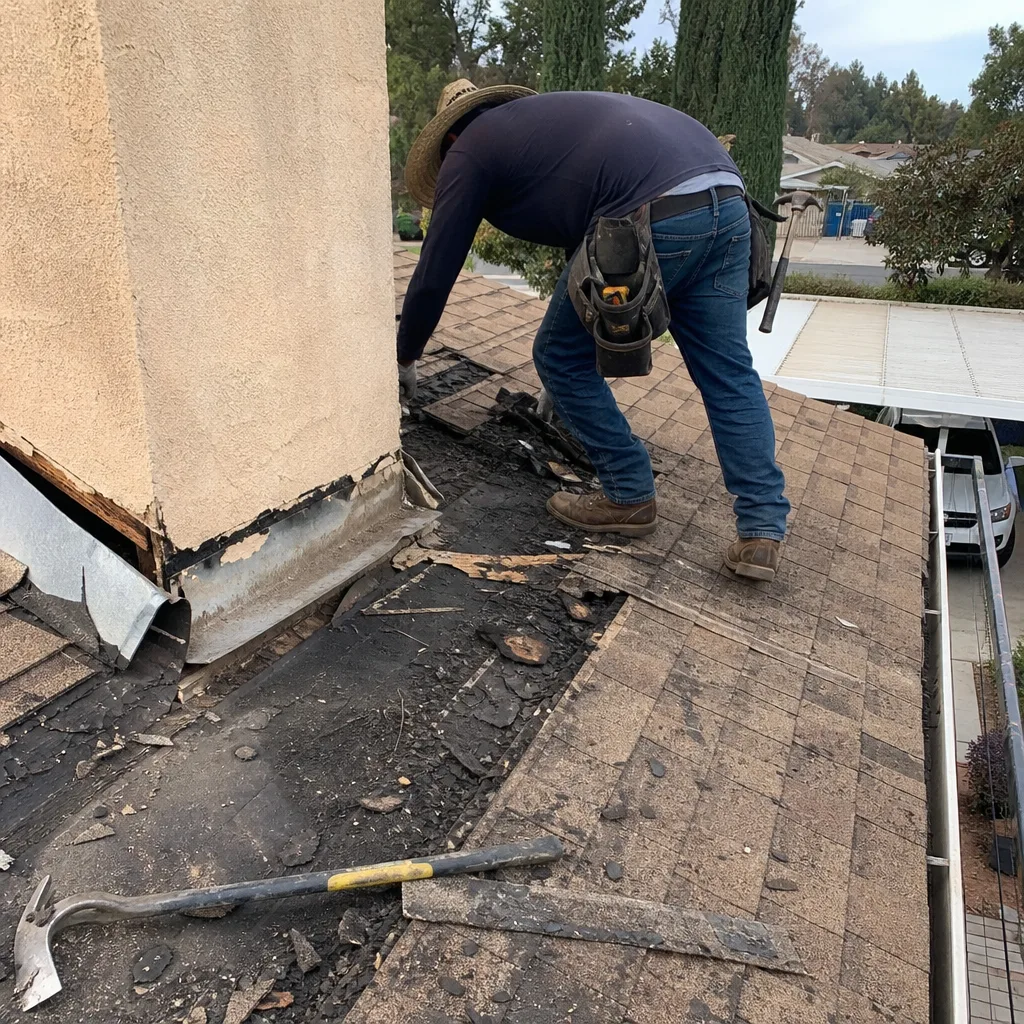 Before
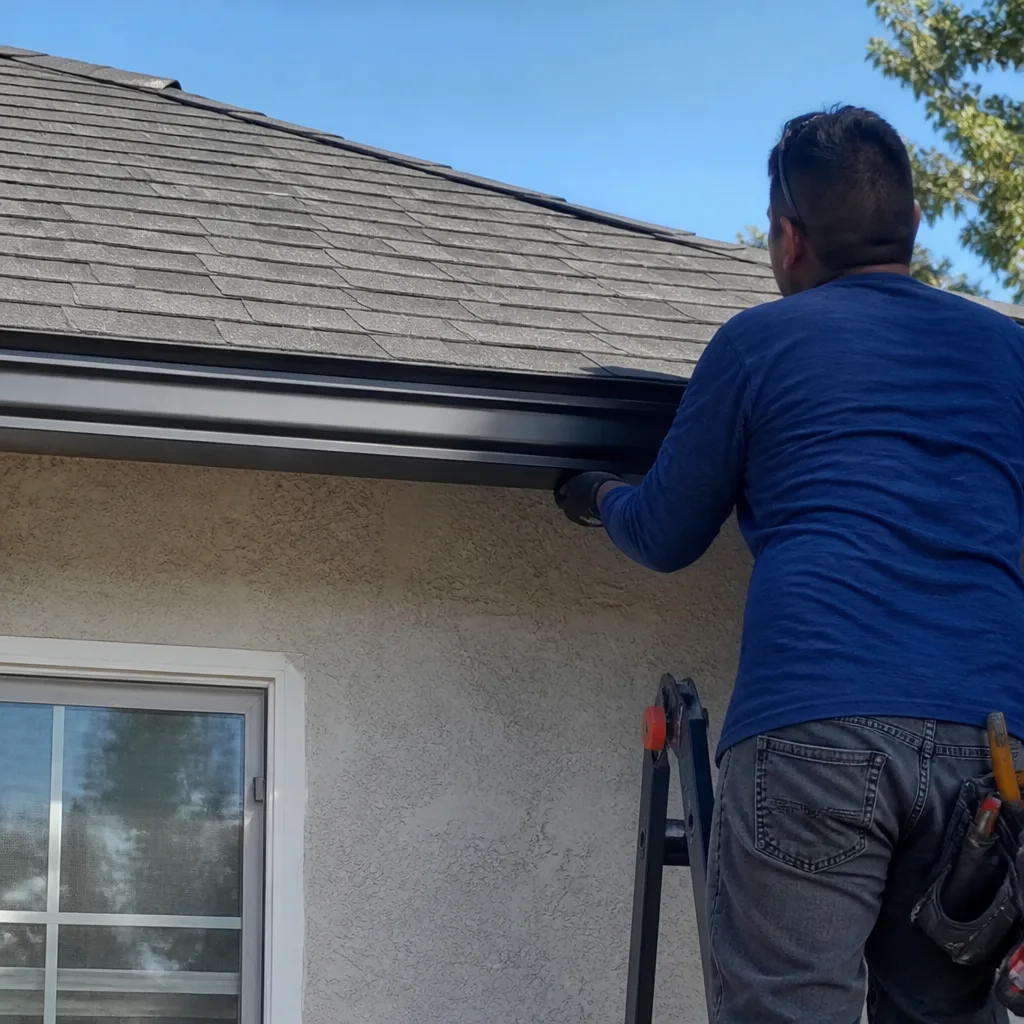 After
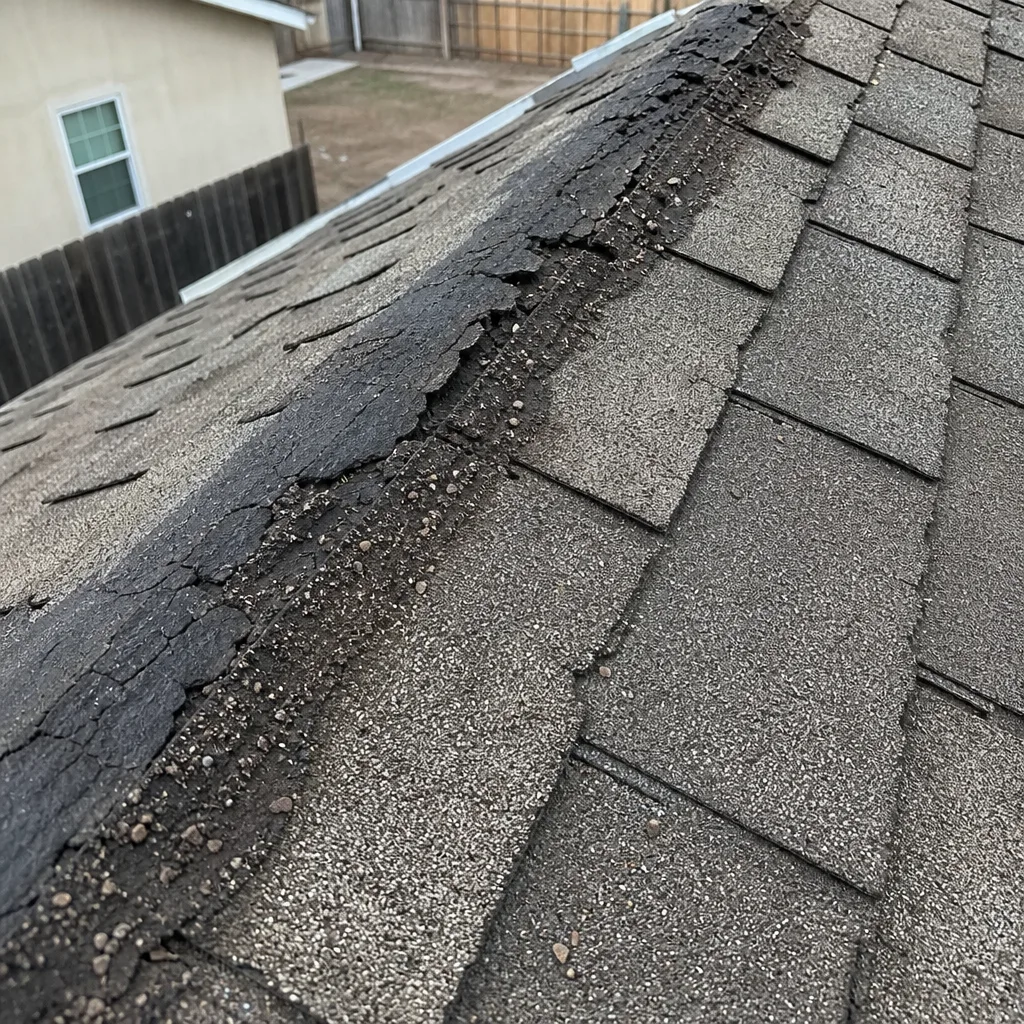 Before
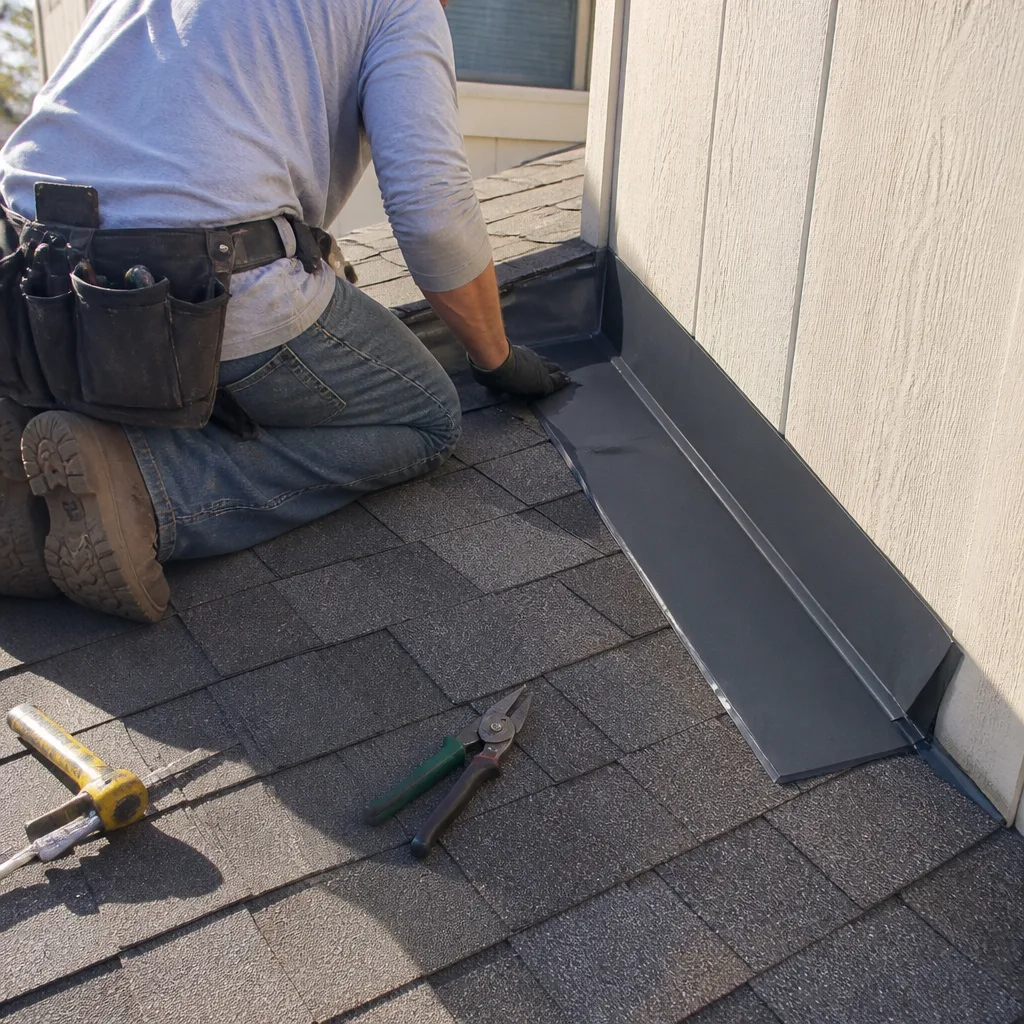 After
When to Call a Professional
Call a professional when you see a ridge cap lifted, a pipe boot cracked, a shingle tab that does not lay flat, or any metal flashing that moves when pressed. Call before the wind event if you have not had an inspection in more than a year and you live anywhere in the San Bernardino wind corridor. Call after the wind event if you hear flapping, see shingle granules collecting in your gutters, or find water stains on your ceiling. Ridge Cap Roof Repair offers free estimates in San Bernardino – call (866) 361-0798. We inspect before we recommend, and we do not recommend replacement when repair is the right call.
Frequently Asked Questions
Emergency tarping in San Bernardino typically costs between $800 and $2,500, depending on the size of the damaged area, the roof pitch, and whether the work happens during or after the wind event. The tarp material itself is relatively inexpensive; the labor cost is driven by the hazard pay for working at height in windy conditions. Call (866) 361-0798 for an exact quote – estimates are free.
The most important thing is a roof inspection focused on the five highest-risk components: ridge cap seal integrity, pipe boot gaskets, edge flashing and drip edge attachment, valley metal and transition flashing, and loose shingle tabs on the windward side. Most of these issues can be fixed with sealant and fasteners for under $400, while ignoring them leads to emergency tarping costs several times that amount.
Yes, you should puncture the ceiling at the lowest point of the bulge with a single, small hole to allow controlled drainage into a bucket. Pooled water will spread and collapse a larger ceiling section if left alone. Document the ceiling with photos before and after you puncture it.
Check the California Contractors State License Board website for an active C-39 or appropriate B classification license and verify workers’ compensation coverage. Both checks take under five minutes total on your phone. If the license is suspended, expired, or the name does not match the company, do not let the crew on your roof.
Yes. We work with homeowners and adjusters throughout the repair process, and our documentation protocol is designed to support your claim. From inspection to repair to replacement, the same crew handles the entire job, so nothing gets lost between separate teams. Call (866) 361-0798 to schedule a free estimate.
Most permanent repairs are completed within 30 days of the wind event. The first few days are stabilization and documentation, the next week is assessment and scoping, and the remaining time is materials and scheduling. The timeline depends on the extent of the damage and whether insurance is involved.
Resources and Further Reading
- Roof Repair in San Bernardino – Full detail on our repair-first approach to wind damage, pipe boot failures, ridge cap resealing, and flashing replacement.
- Roof Inspection in San Bernardino – What a complete pre-season inspection covers, how it is documented, and why we inspect before we recommend.
- Roof Replacement in San Bernardino – How to decide between repair and replacement after a major wind event, with material matching across seven manufacturers.
The Bottom Line
San Bernardino emergency roofing preparedness is not about buying a bigger tarp or finding a faster phone number. It is about the unglamorous work of checking five specific roof components before October 1, knowing how to contain water without destroying evidence, and having a documented plan for photos, tarping, and contractor vetting before you need it. The homeowners who do this work spend a few hundred dollars in September. The homeowners who do not spend a few thousand in December. The choice is made weeks before the wind starts. Make it on your schedule, not the storm’s.
Written by the team at Ridge Cap Roof Repair, serving San Bernardino since 2018.