Last updated October 30, 2026
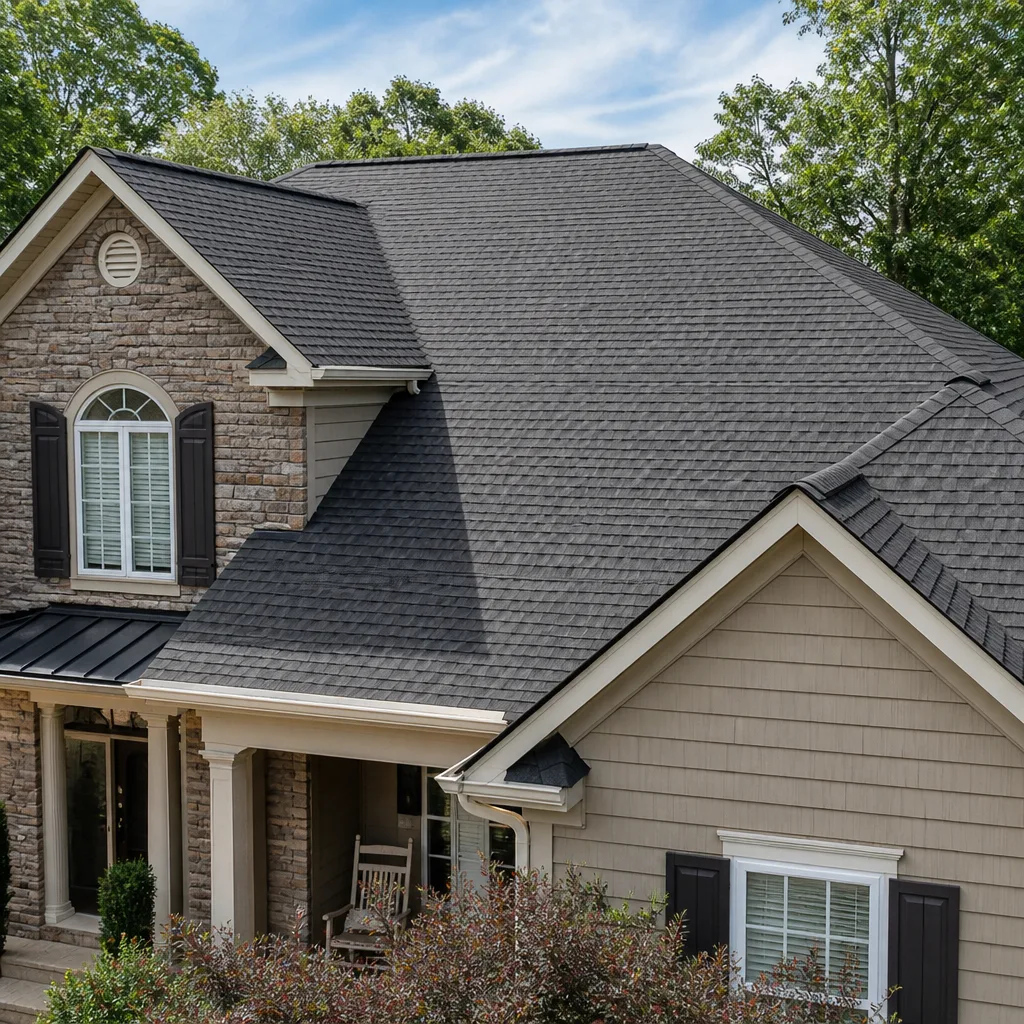 Architectural shingles
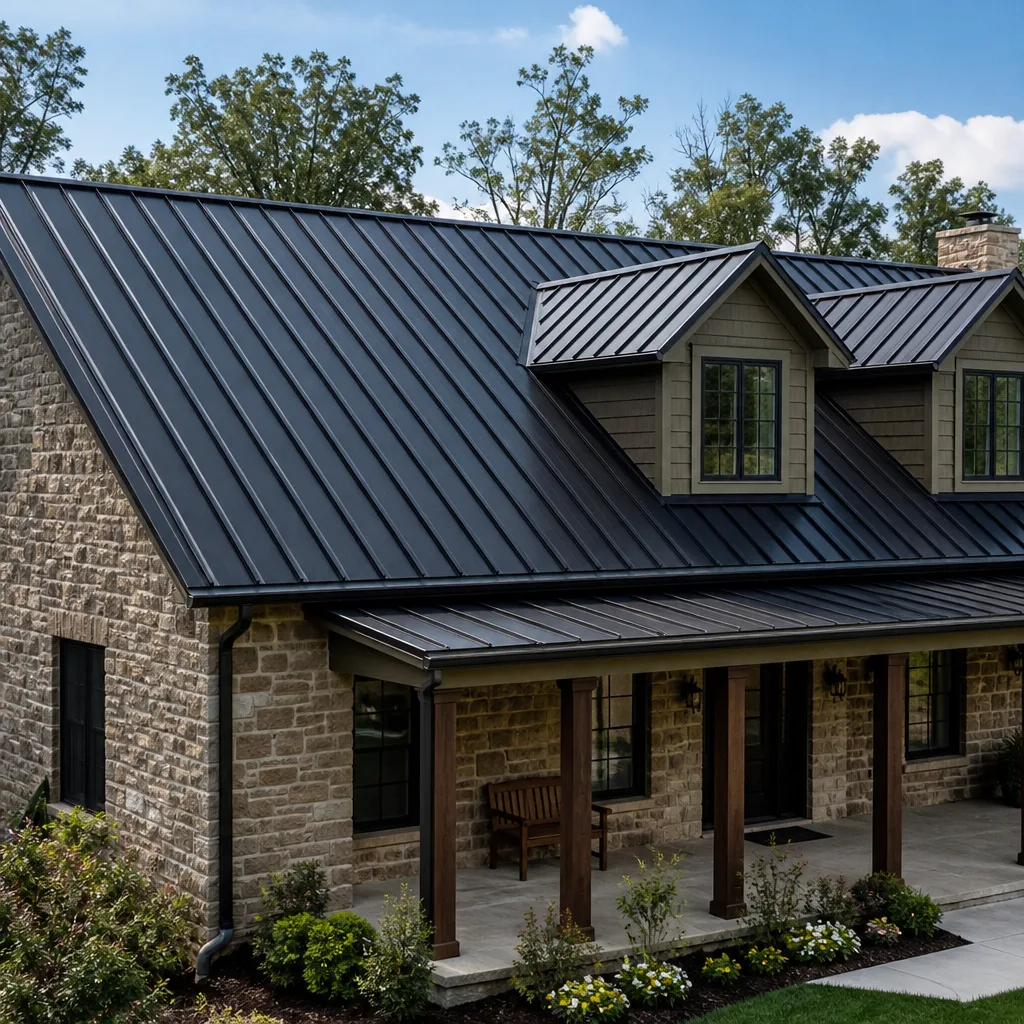 Metal roofing
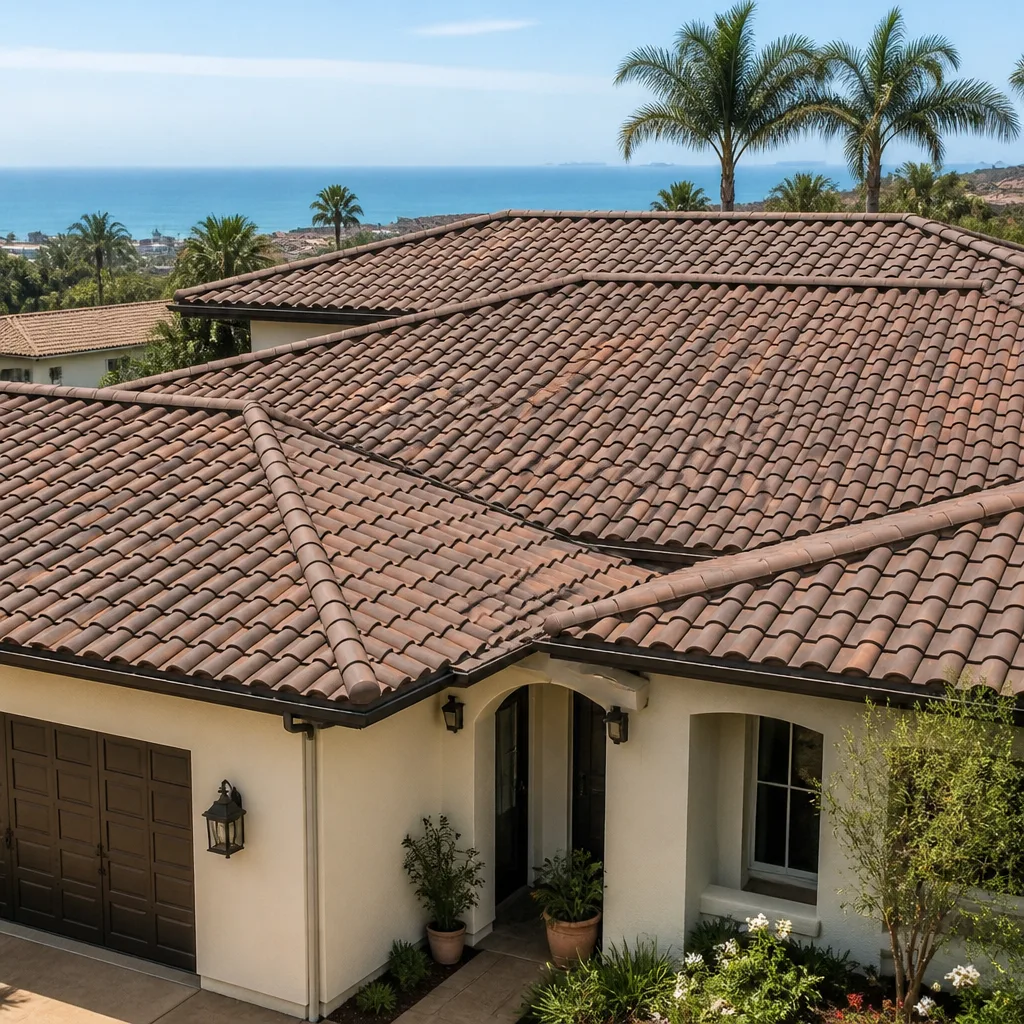 Tile roofing
 GAF
 Owens Corning
 Flat & low-slope
Free roof inspection with deck photos before we talk money - GAF and Owens Corning certified installation
Roof Repair Troubleshooting: Common Problems and How to Fix Them
A water stain on a ceiling is not a roof problem. It is a symptom of a roof problem, and the distance between the stain and the actual entry point can be 10, 15, sometimes 20 feet. Most troubleshooting guides stop at matching symptoms to generic fixes, and that is exactly why so many Roof Repair services fail within the first year. This guide walks through the diagnostic process that separates a lasting fix from a temporary patch. We have applied this approach on hundreds of roofs across San Bernardino, where summer UV cycles and winter wind events create failure patterns you can learn to read. By the end, you will know how to trace a leak, identify the four distinct causes of lifted shingles, evaluate flashing integrity, and decide whether spot repair or full replacement is the financially honest call.
Styles & brands we work with
Quick Answer
Roof repair troubleshooting starts with diagnosing the root cause, not the visible symptom. Trace water stains to their true entry point, identify whether shingle damage is isolated or systemic, and inspect flashing before assuming the shingle field is the problem. Most failures involve improper flashing, ventilation-driven moisture, or fastener issues rather than the shingle itself.
Table of Contents
- Tracing a Ceiling Stain to the Real Roof Entry Point
- The Four Distinct Causes of Lifted or Cupped Shingles
- Why Flashing Failures Cause So Many Repeat Leaks
- Isolated Repair Zone or System-Wide Condition?
- Diagnostic Questions to Ask Any Contractor Before a Repair
- How San Bernardino Climate Shapes Roof Failure Patterns
- Material Selection After Diagnosis: Matching Product to Problem
- Common Mistakes to Avoid
- When to Call a Professional
- Frequently Asked Questions
- The Bottom Line
Tracing a Ceiling Stain to the Real Roof Entry Point
A roofer who patches the first lifted shingle he sees without checking the fastener pattern across the entire field is treating a symptom. The next wind event will show you where the real problem is. The same principle applies to water stains. Water enters at one point, travels along the roof deck, follows a rafter, and pools at the lowest point before soaking through drywall. The stain on your ceiling is the exit wound, not the entry wound.
How water travels before it shows up indoors
Water moves downhill, but on a roof that means following the slope of the deck, not dropping straight down. A leak at the ridge can travel down a rafter, collect at a roof-to-wall intersection, and only then drip onto insulation and drywall. In San Bernardino homes built on sloped lots, this travel path can be surprisingly long. Attic inspections reveal the trail if you know what to look for. Check for water stains on the underside of the decking, damp insulation, and rusted fastener heads. The highest point of visible moisture is usually near the actual entry point.
Step-by-step leak tracing
- Start indoors at the ceiling stain. Mark its perimeter with painter’s tape.
- Go into the attic with a flashlight. Look at the underside of the roof deck directly above the stain, then follow the deck upward.
- Look for water trails, dark streaks, or white mineral deposits on framing lumber. Water leaves residue.
- Check insulation. Wet insulation holds water long after the leak stops. Squeeze a handful. If it feels damp or clumps, the leak path passed through this area.
- Note any roofing nails that look rusty or have dark circles around them in the decking. Condensation and small leaks create these rings.
- On the roof surface, inspect the area 3 to 10 feet uphill from the highest attic moisture point. That is where the entry point will be.
- Look for small punctures, lifted flashing, cracked sealant, or missing fasteners in that zone.
Wet weather timing helps too. A leak that appears during rain but stops after the rain ends points to an active entry point. A stain that persists or worsens days after rain suggests trapped water in the deck or insulation that is slowly releasing. In San Bernardino’s dry season, a stain that appears without any rain often points to condensation from poor attic ventilation, not a roof leak at all.
The Four Distinct Causes of Lifted or Cupped Shingles
A lifted shingle looks the same to most homeowners, but the cause determines whether the fix costs $300 or $9,000. We have seen crews tear off and replace entire roof planes for what turned out to be a ventilation problem, and we have seen spot repairs fail because the underlying deck movement was never addressed. Before ordering materials, determine which of these four conditions you are actually dealing with.
1. Adhesion failure
Shingles come with a heat-activated sealant strip on the underside. When installed correctly, the sun warms the shingle and bonds it to the shingle below. If the sealant strip is contaminated with dust, granule loss, or moisture at install time, or if the shingles were installed in cold weather before the sealant could activate, the bond never forms. The shingle stays loose and lifts in the first wind event.
How to identify it: The shingle tab lifts easily with the back of your hand or a flat tool. The sealant strip looks shiny or smooth, not textured from separating. The problem usually affects scattered shingles across the roof, not one localized area.
Fix: Spot repair. A roofer can manually re-seal the tab with a compatible adhesive, but only if the shingle is not torn or creased. If the shingle is damaged, replace it individually.
2. Improper nailing
Shingles are engineered to be nailed in a specific zone, usually 1 to 2 inches above the cutout. Nails placed too high miss the shingle below, reducing wind resistance. Nails placed too low penetrate the sealant strip and create a leak path. Overdriven nails tear through the shingle. Underdriven nails leave the head proud, rubbing against the shingle above. Any of these creates a failure point that shows up as lifted shingles after wind.
How to identify it: Lift the shingle tab and check the fastener pattern. Look for nails outside the marked nailing zone, nails driven at an angle, or nail heads that have torn through. This is a workmanship defect, and where you find one, you often find dozens.
Fix: If isolated, re-nail the affected shingles per manufacturer spec. If widespread, the entire roof plane may need re-fastening. In San Bernardino, wind gust ratings matter. A roof nailed incorrectly will fail at 40 mph when it should survive 110 mph. The remedy is not a patch. It is correcting the fastening.
3. Deck movement
The plywood or OSB deck beneath your shingles expands and contracts with temperature and moisture changes. If the deck was installed without proper spacing between panels, or if it was wet at installation, the panels swell and push against each other. This creates ridges that lift shingles in a visible line. In San Bernardino, where summer attic temperatures routinely exceed 130 degrees, deck movement is more common than most homeowners realize.
How to identify it: The lifted shingles form a straight line that matches the underlying panel seams. Walk the roof and you can feel a ridge. Tap with a hammer and the deck sounds hollow or separated at the seam.
Fix: The shingles in the affected area are removed, the deck is cut to create a proper expansion gap, and new underlayment and shingles are installed. This is not a patch job. It is a localized re-roof.
4. Ventilation-driven moisture
When attic ventilation is inadequate, warm moist air from the living space rises into the attic and condenses on the underside of the roof deck. The deck absorbs that moisture and warps. Shingles cup, curl, or lift as the deck moves beneath them. The shingles themselves may be perfectly good.
How to identify it: Shingles are cupped or curled at the edges across a broad area. The attic feels hot and humid. You may see condensation on roofing nails in the morning. The problem is not isolated to one repair zone. It is a system-wide ventilation deficiency.
Fix: Adding or repairing intake and exhaust ventilation. This may mean additional soffit vents, a ridge vent, or mechanical ventilation. Replacing shingles without addressing ventilation means the new shingles will fail the same way. A Roof Inspection in San Bernardino will identify whether ventilation is the underlying issue before any shingle work begins.
Why Flashing Failures Cause So Many Repeat Leaks
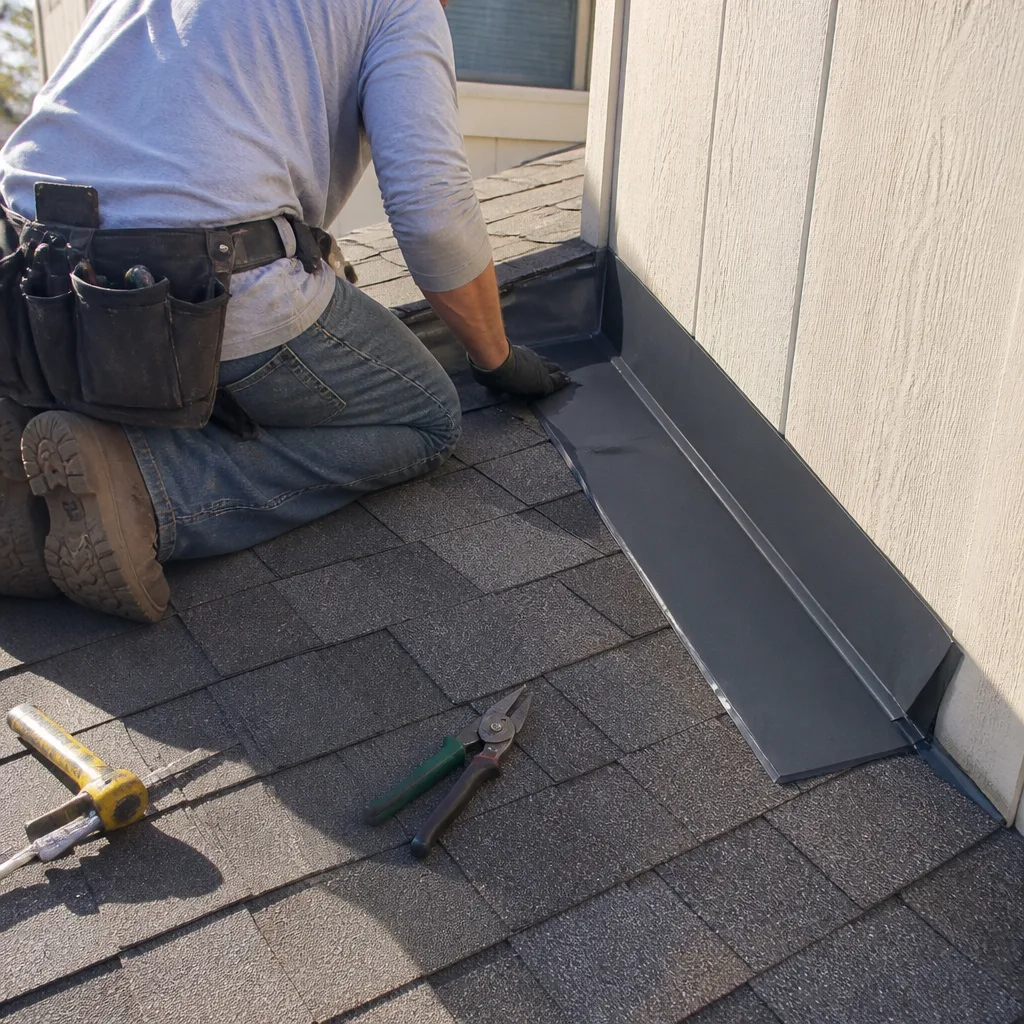
Flashing is the metal or membrane detail that seals the places where the roof plane is interrupted: chimneys, skylights, walls, valleys, and vent pipes. These transitions are where water collects and where roofs most often leak. Industry data consistently shows that a disproportionate share of roof leaks trace back to flashing failures, not field shingle failure. Yet many repair crews glance at the flashing, see metal, and move on.
What a correct flashing inspection actually involves
Flashing failure is rarely a single dramatic tear. It is usually a slow failure of sealant, a loosened fastener, or a step flashing that was never properly integrated. A correct inspection checks:
- Step flashing at walls: Each piece should overlap the shingle below and be overlapped by the next shingle course. If you can see gaps between step flashing pieces, water will find them.
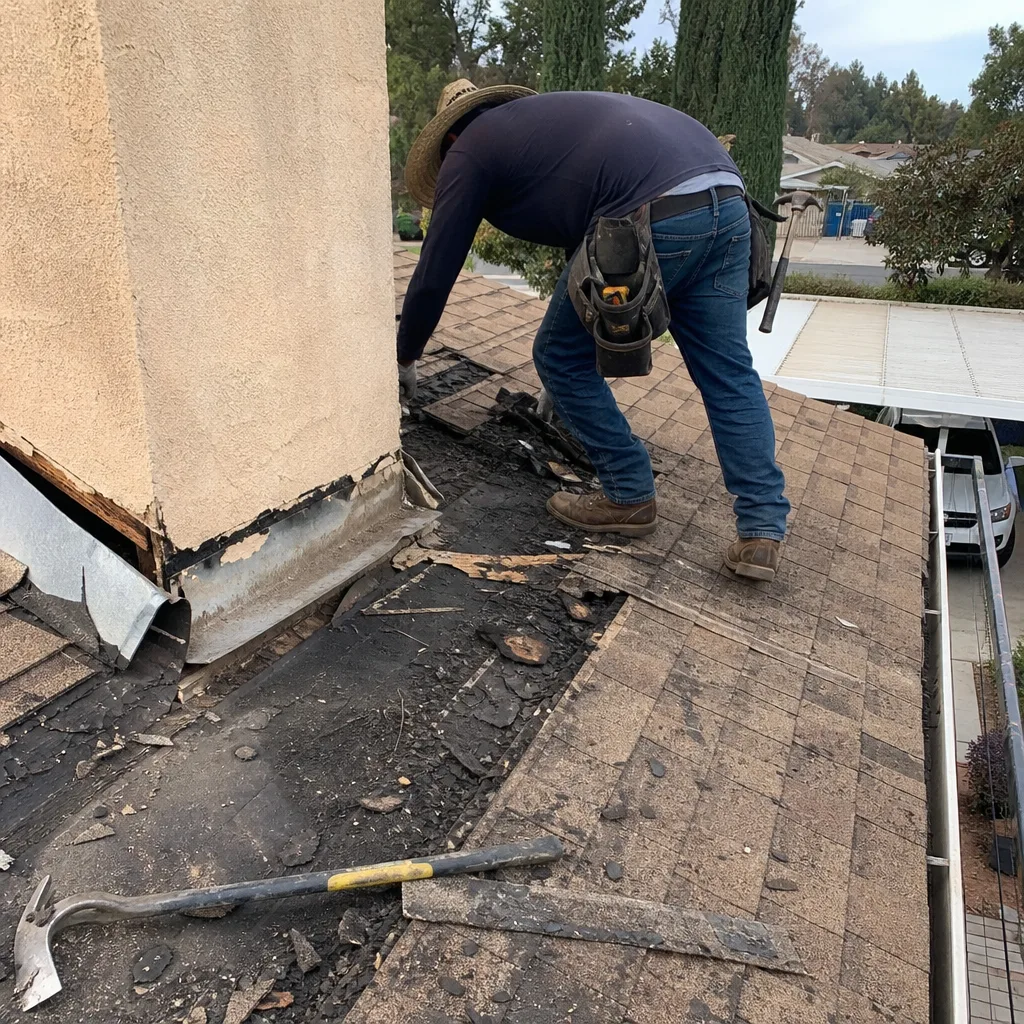
- Chimney flashing: Base flashing, counter flashing, and the sealant joint where they meet. The counter flashing should be cut into the masonry, not surface-sealed with caulk. Surface sealant fails every 18 to 24 months in San Bernardino’s UV climate.
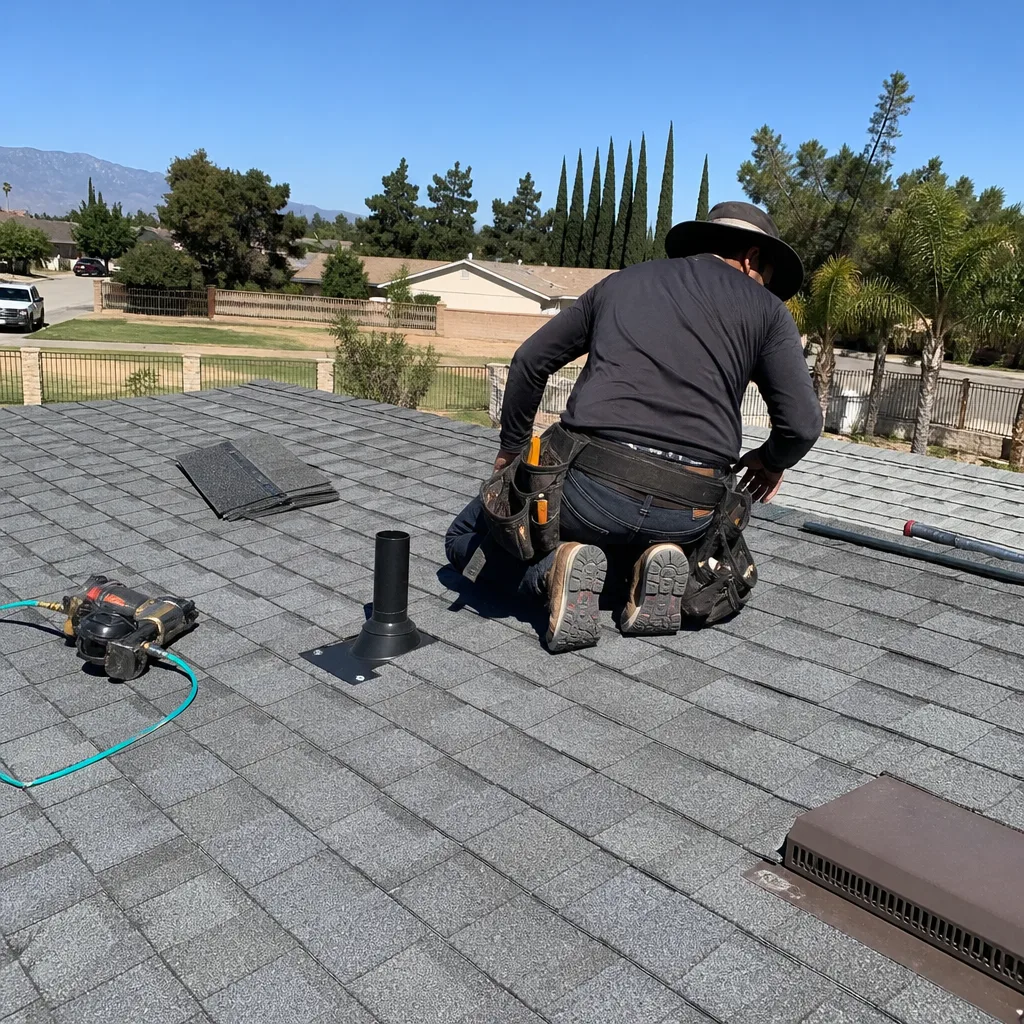
- Vent pipe flashing: The rubber boot should sit tight against the pipe with no cracks or dry rot. These boots fail faster than the surrounding shingles, typically in 10 to 12 years.
- Valley flashing: Check for exposed nail heads, corrosion, or tears. Metal valleys should be free of punctures. Woven valleys should show no lifted shingles.
- Roof-to-wall intersections with stucco: San Bernardino has a lot of stucco exteriors. The flashing detail here requires a proper reglet cut into the stucco. Silicone smeared on top of the stucco is not a repair, it is a temporary bandage that will peel.
One of the most common patterns we see after windstorms in San Bernardino: a repair crew replaces four lifted shingles near a wall, seals the area, and leaves. The real problem was the step flashing behind the wall siding that had pulled away from the deck. The shingles lifted because wind found the gap. Three months later, the leak is back and the homeowner has paid twice. The flashing should have been inspected and re-secured in the same visit.
Isolated Repair Zone or System-Wide Condition?
This is the single most important diagnostic distinction in roof repair. An isolated problem is a punctured shingle, a single boot flashing that dried out, a small section of lifted shingles from one wind event. A system-wide condition is something that affects the whole roof: inadequate ventilation, improper original installation, aged shingles that have reached the end of their service life across the entire field, or deck movement across multiple panels.
Spot repair makes sense when the rest of the roof is fundamentally sound. Spot repair is wasted money when the rest of the roof is three years from replacement and already showing the same failure pattern. Think of it this way: if you find three lifted shingles in one corner and the rest of the roof seals tight, that is an isolated repair. If you find lifted shingles scattered across three roof planes and the shingles are granule-bald and brittle, the roof is telling you it is done.
How to tell which situation you have
- Age: A roof with ten years of remaining service life is a good repair candidate. A roof at 22 years on a 25-year shingle is not.
- Pattern: Failures in one zone suggest isolated cause. Failures in multiple zones suggest a systemic problem.
- Granule condition: Heavy granule loss across the whole roof, visible bald spots, or granules filling the gutters means the shingle surface is failing system-wide.
- Attic condition: Moisture, mold, or failing decking in multiple attic areas points to a ventilation problem, not a single leak.
- Repair history: If this is the third repair in two years, the repairs are addressing symptoms, not the cause.
We inspect before we recommend. That is not a slogan. It is the only way to give an honest answer about whether Roof Repair in San Bernardino or full replacement is the right call. Repair when it makes sense. Replace when it doesn’t. A contractor who cannot articulate the difference is guessing.
Diagnostic Questions to Ask Any Contractor Before a Repair
Before you accept a repair proposal, ask these questions. A competent roofer will answer them directly. A roofer who gets defensive or vague is telling you something. For more guides & resources, see our blog.
- What did you rule out? A good diagnosis is as much about what has been eliminated as what has been found. The contractor should be able to say, “We checked the flashing, the ventilation, and the fastener pattern, and here is why the shingle adhesion is the issue.”
- Where exactly is the water entering? If the answer is “up there somewhere,” you do not have a diagnosis. You have a guess. Ask them to show you the specific entry point and explain how they traced it.
- Is this isolated or systemic? The contractor should explain why the problem exists only in this area or why it will appear elsewhere. If they cannot answer this, they have not inspected the whole roof.
- What did you see in the attic? Any real roof diagnosis includes an attic inspection. Water travels, and the attic is where the trail is visible. If the contractor never went into the attic, they did not complete the diagnostic process.
- Will the repair match the existing roof system? Mixing materials on a roof is a fast path to premature failure. The contractor should be able to name the existing shingle brand and explain how the repair materials are compatible. This is one reason Ridge Cap Roof Repair home service model includes material depth across seven manufacturers. A repair should be specified to the existing roof system, not whatever is on the truck.
- What is the warranty on this repair? The answer tells you how confident the contractor is in the diagnosis. A roofer who found the real cause will stand behind the fix. A roofer who is patching will hedge.
How San Bernardino Climate Shapes Roof Failure Patterns
San Bernardino’s climate creates a specific set of roofing stressors. The city sits in a valley that sees summer temperatures above 100 degrees for weeks at a time, with intense UV exposure that degrades asphalt shingles faster than coastal climates. Winter brings Santa Ana wind events with gusts that can exceed 60 mph. Rain is seasonal but often arrives in short, intense bursts. These conditions shape how roofs fail here. See our Roofing Emergency Preparedness Guide for San Bernardino Homes to prepare before the next storm.
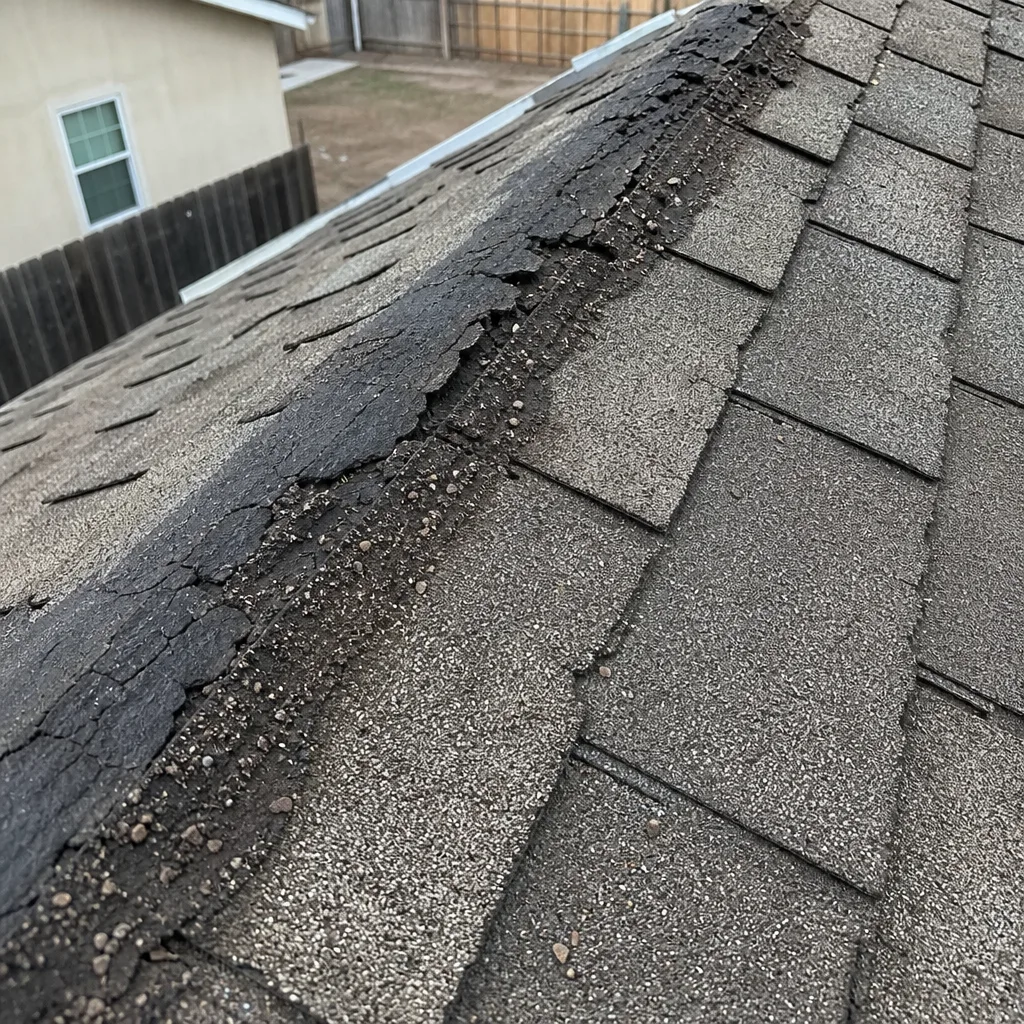
UV degradation is the most predictable pattern. San Bernardino shingles lose granules faster than the same shingle in, say, coastal Orange County. The asphalt becomes brittle. Sealant strips dry out. The shingle surface becomes a collection of small cracks that eventually allow water to reach the mat. This is why a 30-year shingle in San Bernardino may realistically last 18 to 22 years, and why age-based repair decisions need to account for UV exposure.
Santa Ana winds create a different failure pattern. Wind-driven shingle lift concentrates at roof edges, rakes, and the corners of roof planes. The wind does not lift shingles uniformly. It finds the edges and the places where the sealant bond was already weak. After a significant wind event, the correct response is a full inspection of the roof perimeter. A few lifted shingles in one corner may be the only visible damage, but the wind event likely tested every edge on the roof. Not every weakened area will lift immediately. Some will hold until the next event. Inspecting only the visible damage means missing the next failure.
Intense rain on a dry roof creates another pattern. San Bernardino’s intermittent rain means debris accumulates in valleys and behind chimneys during the dry season. When rain finally comes, water backs up behind these blockages and finds the small gaps that dry conditions hid. Regular inspection after the dry season is not optional hygiene. It is a preventive measure against the specific failure mode this climate creates.
Material Selection After Diagnosis: Matching Product to Problem
Once the diagnosis is complete, the repair specification should be driven by the job’s needs, not by what a contractor happens to stock. This is where material depth matters. A repair to a GAF roof should use GAF-compatible materials and follow the manufacturer’s install spec. The same applies to CertainTeed, Owens Corning, IKO, Atlas, Tamko, and Boral systems. Each manufacturer has specific installation requirements for nail placement, sealant activation, and flashing integration. A contractor who only installs one brand will default to that brand, whether or not it is the right match.
This matters more than most homeowners realize. Mixing manufacturers on a roof can void the warranty on both the original installation and the repair. Sealant chemistry varies. Shingle exposure dimensions vary slightly. The nail zone placement differs. A repair specification that ignores these details creates a new failure point while attempting to fix an old one.
For San Bernardino homeowners, the material-to-climate match is also worth understanding. Steeper slopes shed water faster but catch more wind. Low slopes hold water longer and need products rated for the lower pitch. Certain materials handle UV better than others. Certain colors retain less heat. A roof that faces due west in San Bernardino gets hammered by afternoon sun in a way a north-facing slope does not. The right material for a west-facing slope may be different from the right material for a shaded north slope. This is not a reason to choose the most expensive shingle on the rack. It is a reason to understand what the existing roof system is doing well, and what it is doing poorly.
Common Mistakes to Avoid
- Sealing lifted shingles with exterior caulk. Caulk is not a sealant for shingle tabs. It fails under UV exposure and temperature flexing, and it prevents proper re-sealing later. The shingle’s own heat-activated sealant or a manufacturer-approved adhesive is the only correct material.
- Patching over a ceiling stain without fixing the roof. The stain will return, and by then the deck damage will be worse. Water trapped in the deck between the leak and the patch is still doing damage.
- Replacing shingles without checking the ventilation. If moisture-driven cupping caused the original failure, new shingles will cup the same way. This is the most expensive mistake we see on San Bernardino roofs.
- Ignoring the flashing because the shingles look fine. The majority of roof leaks are flashing failures, not shingle failures. A shingle inspection is not a roof inspection.
- Spot repairing a roof that has reached systemic end of life. When the whole roof is granule-bald and brittle, patching individual shingles is like changing one tire on a car with four bald tires. You have not fixed the problem.
- Hiring a contractor who never went into the attic. If the diagnostic process skipped the attic, it skipped the most important evidence. A contractor who will not go into the attic on a leak call is not doing the job.
- Believing a “free inspection” from someone who spends five minutes on the roof. A real inspection takes time. It involves the attic, the flashing details, the fastener pattern, and the roof surface. If it took five minutes, it was not an inspection.
When to Call a Professional
Some repair decisions are safe to make without professional input. A single torn shingle in an otherwise healthy roof, a small piece of step flashing that has come loose, or a boot flashing with visible dry rot are all isolated conditions that a qualified roofer can fix in one visit. But if you are seeing repeated leaks, multiple lifted shingles across different roof planes, granule accumulation in gutters, or attic moisture that suggests a ventilation problem, the diagnostic process matters more than the repair itself.
Roof work carries risk. Fall hazards are real, and walking a roof without proper safety equipment or training accounts for a significant share of homeowner injuries every year. High-pitch roofs, tile roofs, and any work near the edge should be left to a professional. When the diagnostic question involves structural deck movement or systemic installation defects, a professional inspection is not just recommended. It is the only responsible path.
Ridge Cap Roof Repair offers Roof Replacement in San Bernardino and roof repair services with free estimates. We inspect before we recommend. Call (866) 361-0798 to schedule a no-pressure evaluation.
Frequently Asked Questions
Most isolated roof repairs in San Bernardino run between $350 and $900 for a single shingle or flashing fix, while larger repair zones or deck corrections can run $1,500 to $4,500. The cost depends on the diagnosis: a re-nailing job costs less than a deck correction, and a flashing replacement costs less than a localized re-roof. See our Roofing Cost Breakdown: The San Bernardino Homeowner’s Reference for 2026 for detailed pricing. Call us for an exact quote, estimates are free.
Most isolated repairs take 2 to 4 hours from setup to cleanup, with deck corrections or larger repair zones taking a full day. The diagnostic work adds time upfront but prevents the repair from failing. A roofer who quotes 20 minutes for a leak repair is not diagnosing the leak.
It should not if the diagnosis was thorough. The most common reason a repair price changes mid-job is that the crew discovered a condition that should have been caught during inspection. At Ridge Cap Roof Repair, we specify repairs in writing and don’t change the number unless we find something we can show you and explain. We inspect before we recommend because a surprise during the repair means the inspection was incomplete.
Not necessarily. Lifted shingles have four distinct causes: adhesion failure, improper nailing, deck movement, or ventilation-driven moisture. Each is handled differently. Only a systemic condition across multiple roof planes or end-of-life shingle condition points to replacement. An honest inspection will tell you whether you are dealing with a repair zone or a system-wide problem.
Signs include shingles curling or cupping across broad areas, a hot attic even on mild days, condensation on roofing nails, and moisture stains that appear without rain. In San Bernardino’s hot climate, this is one of the most common roof killers we see. A roofer who diagnoses shingle failure without checking ventilation is missing the cause.
Mark the stain with tape and check the attic during or immediately after the next rain. Look for the highest point of moisture on the deck. That is near the entry point, not the stain on your ceiling. If rain is not involved, check for condensation and ventilation issues. Either way, call a roofer for an inspection before the stain grows. Call (866) 361-0798 for a free estimate in San Bernardino.
The Bottom Line
Roof repair troubleshooting is a diagnostic process, not a matching game. The same visible problem can have four different root causes, and the fix that works for one will fail for another. Trace leaks to their actual entry point. Identify whether shingle damage is isolated or systemic. Inspect the flashing before assuming the shingle field is the problem. Check ventilation before condemning the shingles. Ask your contractor what they ruled out, not just what they found. From the ridge cap down, the details are where roofs succeed or fail. Seven manufacturers. One crew. That is the Ridge Cap approach, and it is the reason our recommendations are driven by what the job actually needs.
Written by the team at Ridge Cap Roof Repair, serving San Bernardino since 2018.
See the difference
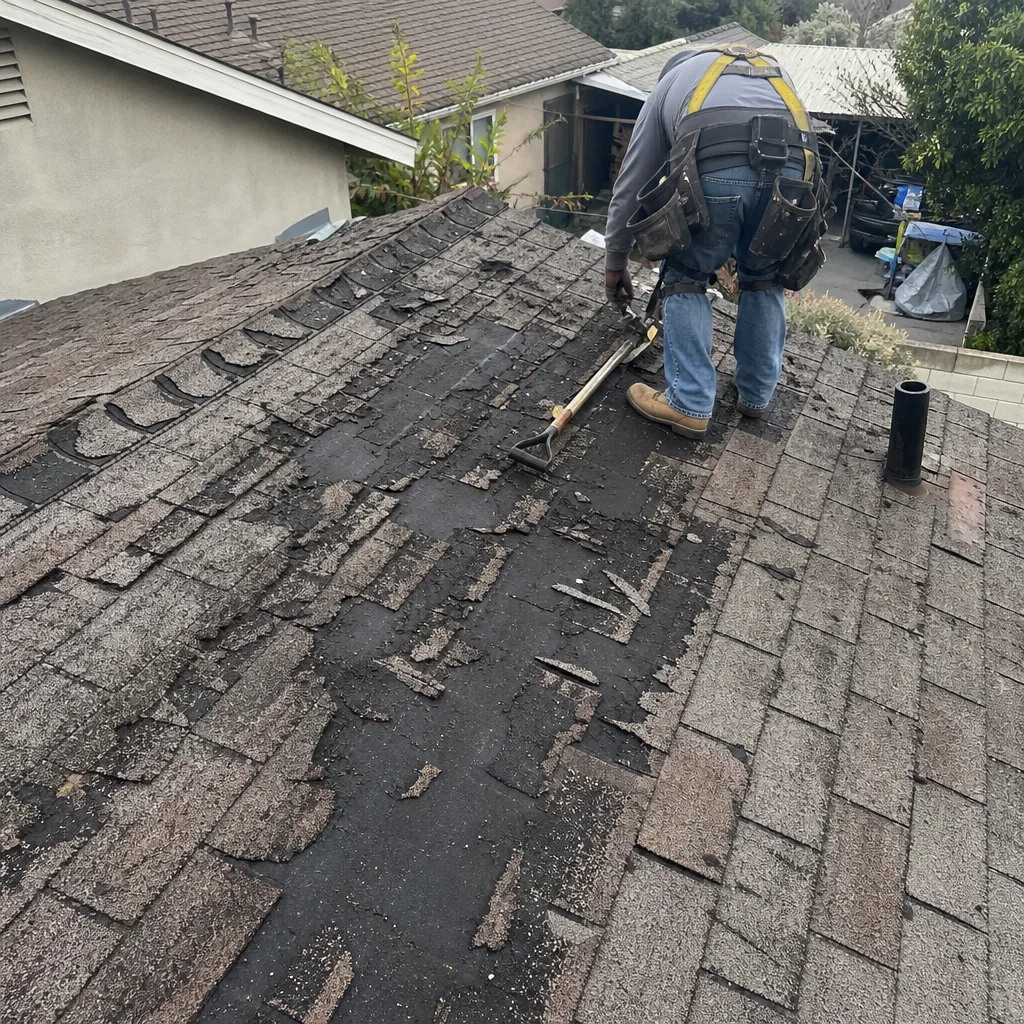 Before
 After
 Before
 After
 Before
 After