
Last updated October 30, 2026
 Architectural shingles
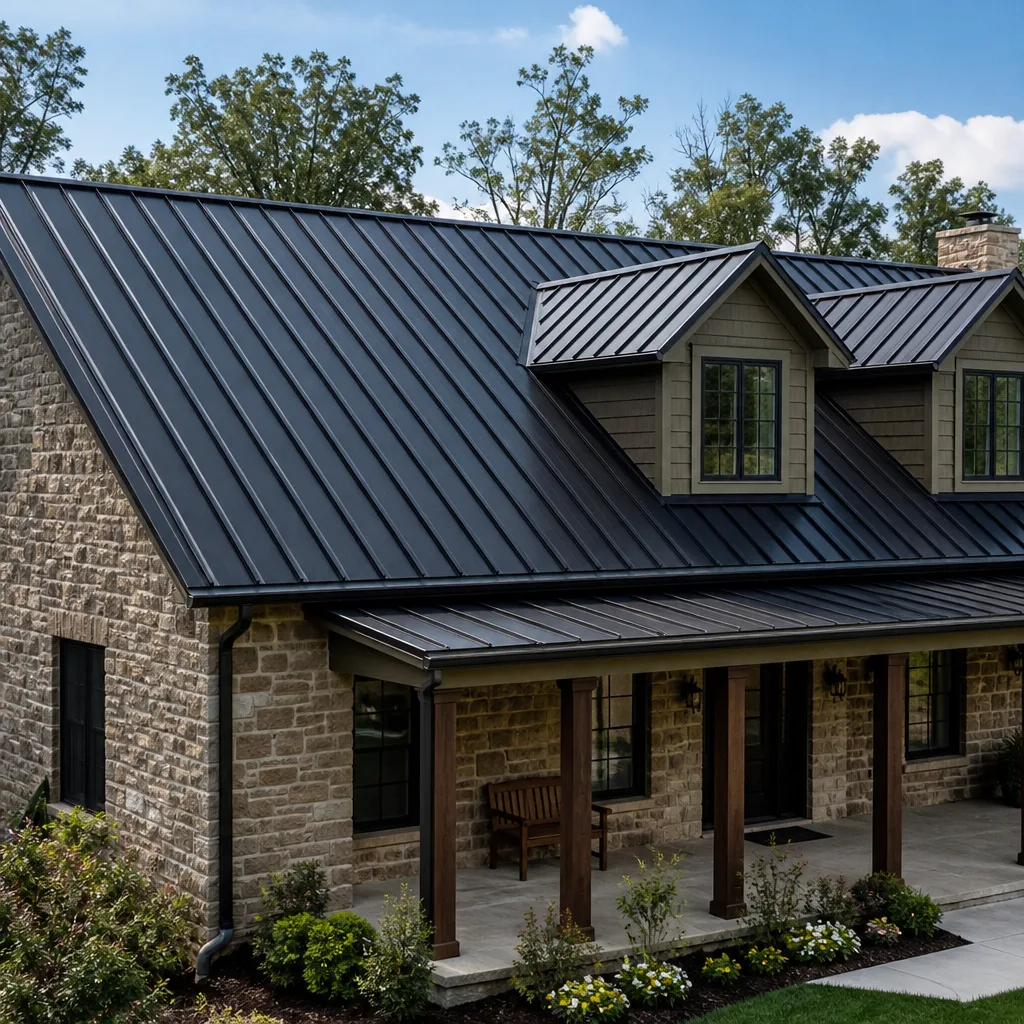 Metal roofing
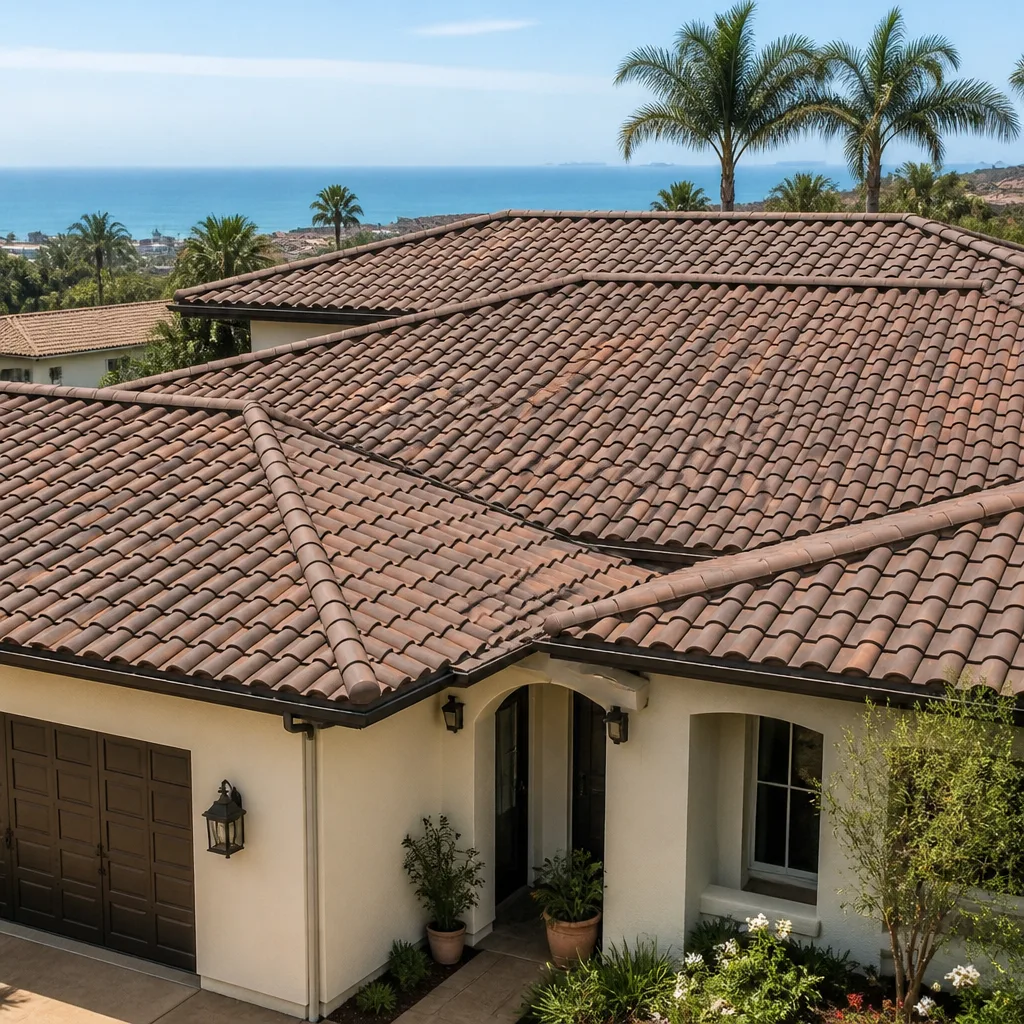 Tile roofing
 GAF
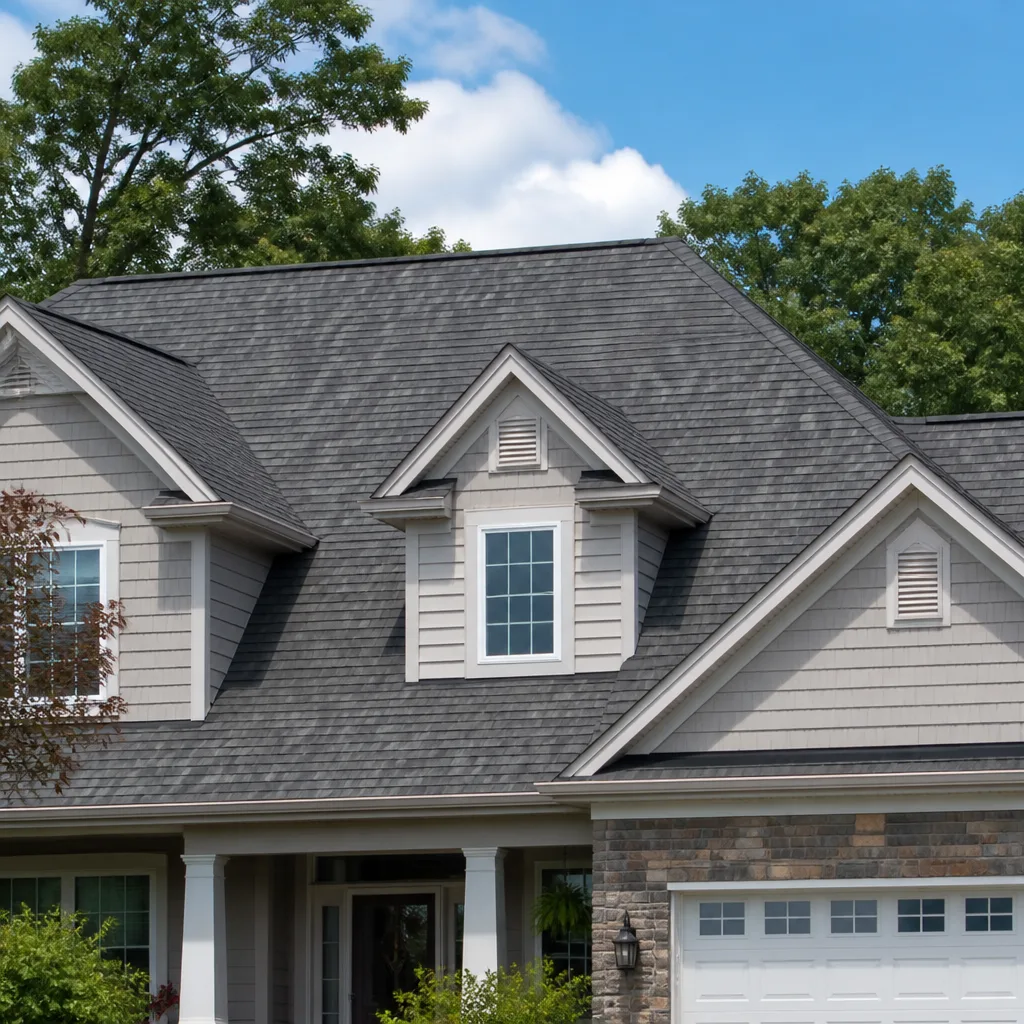 Owens Corning
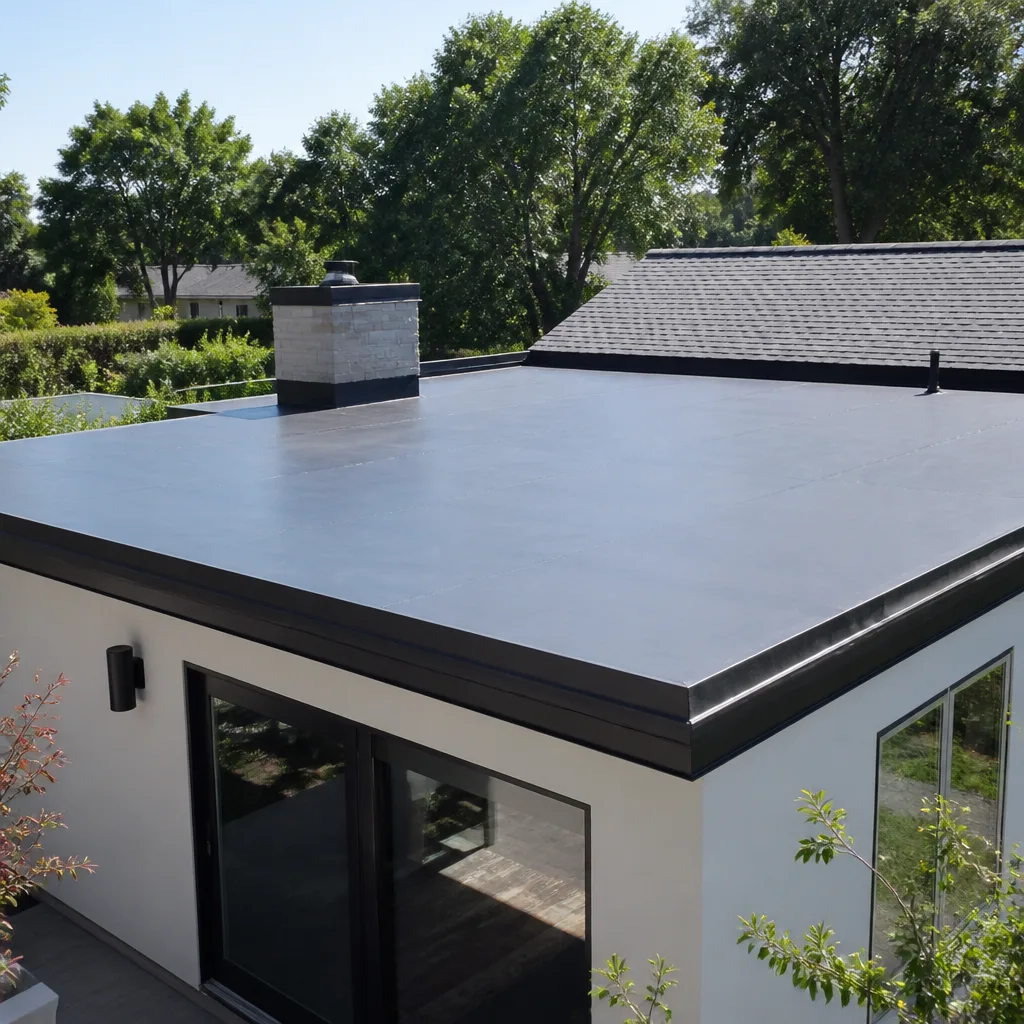 Flat & low-slope
Free roof inspection with deck photos before we talk money - GAF and Owens Corning certified installation
Roof Repair Maintenance Checklist for San Bernardino Homeowners
The single most skipped maintenance task on San Bernardino roofs isn’t gutter cleaning. It’s checking ridge cap mortar and hip flashing after the first Santa Ana wind event of the year, when 90% of storm-related leaks originate. Most checklists you’ll find online are seasonal calendars copied from Pacific Northwest guides, built around rain, moss, and damp. San Bernardino doesn’t have that climate. We have relentless UV, alkaline dust, and wind events that turn small vulnerabilities into active leaks overnight. This checklist is sequenced around what the Inland Empire climate actually does to a roof, month by month, so you’re never doing busywork that doesn’t matter here.
Styles & brands we work with
Quick Answer
A San Bernardino roof maintenance checklist should be built around four seasonal events: pre-Santa Ana wind inspection (September through November), post-wind damage checks, post-summer heat and UV assessment, and pre-rain gutter and flashing verification. The most important tasks homeowners overlook are ridge cap fastener checks, rake-edge flashing inspection, ventilation verification with an infrared thermometer, and granule loss measurement on asphalt shingles. Most of this can be done from the ground or with a ladder, but anything involving walking the roof surface should involve a professional.
Table of Contents
- Pre-Santa Ana Season Inspection: The Wind-Exposure Checklist
- Post-Wind Event Damage Checks: What Actually Fails First
- UV Granule Loss on Asphalt Shingles: How to Measure and What It Means
- Concrete Tile Maintenance in San Bernardino’s Alkaline Dust Environment
- Post-Summer Attic Temperature Check: Finding Ventilation Failures with an Infrared Thermometer
- Maintenance Tasks That Can Void Manufacturer Warranties
- Month-by-Month Maintenance Calendar for San Bernardino
- Common Mistakes to Avoid
- When to Call a Professional
- Frequently Asked Questions
- The Bottom Line
Pre-Santa Ana Season Inspection: The Wind-Exposure Checklist
Santa Ana winds in San Bernardino routinely hit 40 to 60 miles per hour, with gusts that can exceed 70 in the Cajon Pass corridor. These winds don’t behave like ordinary storms. They’re dry, they come from the northeast, and they hit roofs at angles most roofing systems weren’t designed to handle for extended periods. We see the same pattern every year: the first significant wind event of October or November exposes weaknesses that sat dormant all summer.
The pre-Santa Ana checklist should happen in September. Walk the perimeter of your home and look at three specific areas:
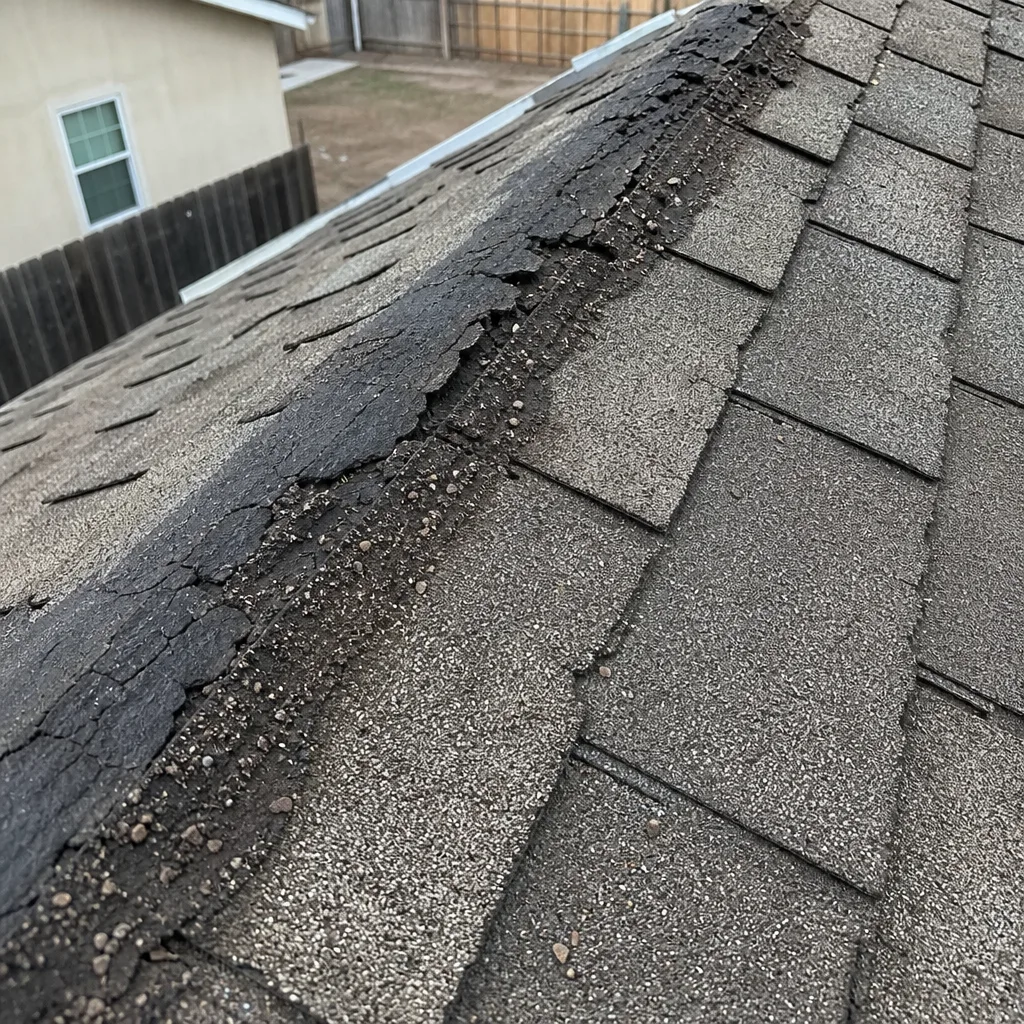
- Ridge cap fasteners and mortar. The ridge cap is the highest, most exposed line on any roof. On concrete tile roofs, the mortar bedding degrades under UV and heat cycling. When a Santa Ana hits, loose ridge caps lift first, and once one lifts, wind gets under the entire ridge line. On asphalt shingle roofs, check for lifted or missing cap shingles. This is where leaks start, not in the field of the roof.
- Rake-edge flashing. The rake edge, the sloped edge of the roof that runs from eave to ridge, takes direct wind pressure during Santa Ana events. If the flashing is loose, bent, or missing fasteners, water gets driven underneath the edge of the roof deck during wind-driven rain. This is a leak that doesn’t show up until months after the wind event.
- Ventilation baffles and attic vents. Wind-driven debris clogs passive vents quickly in San Bernardino. When vents clog, attic temperatures climb, and shingle life drops measurably. During high wind, clogged vents also create pressure differentials that can lift shingles from underneath.
If you see anything questionable from the ground, that’s the moment to schedule a professional inspection. A full Roof Inspection in San Bernardino from Ridge Cap Roof Repair covers all three of these areas systematically, from the ridge cap down.
Post-Wind Event Damage Checks: What Actually Fails First
The day after a Santa Ana event is when most homeowners check for damage. But they check the wrong things. They look for missing shingles in the middle of the roof. That’s almost never where failure happens.
The failure sequence in high wind is consistent:
- Ridge cap and hip lines lift first. These are the highest points, and they receive the most concentrated wind pressure. Missing ridge cap is not just a leak risk; it’s a structural opening that lets wind into the attic space, pressurizing the underside of the roof deck.
- Edge shingles at the rake and eave peel back. Once the perimeter seal is broken, the whole roof becomes vulnerable to progressive failure.
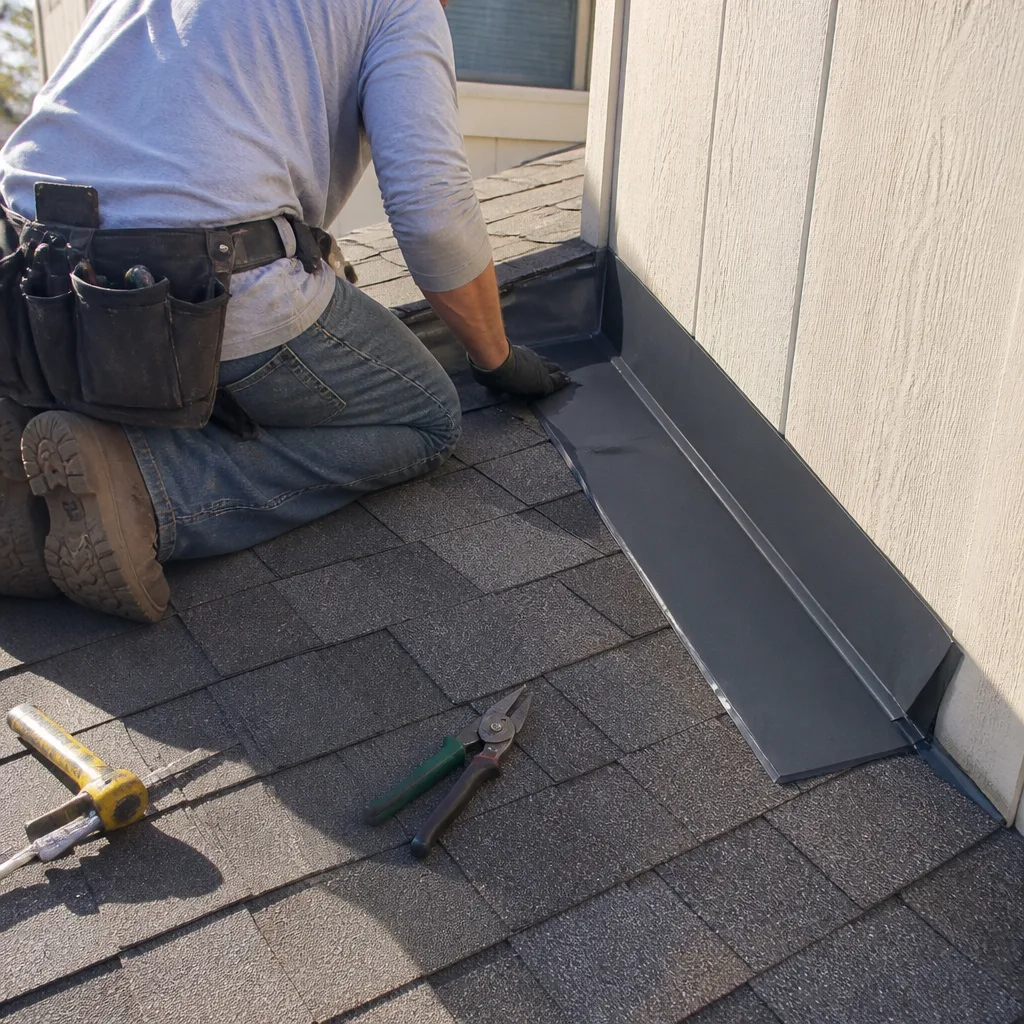
- Flashing at penetrations. Pipe boots, chimney flashing, and skylight flashing take direct wind load. The metal itself rarely fails; the fasteners do. A loose pipe boot is a slow leak that rots the decking around it before it ever shows on the ceiling.
- Debris impact. Palm fronds, tree branches, and loose tile from neighboring roofs are projectiles in a 60-mile-per-hour wind. Impact damage on concrete tile often shows as hairline cracks that don’t leak immediately but expand during the next heat cycle.
After a wind event, walk the perimeter and look up. Use binoculars if you have them. Check the ridge line for gaps, the edges for lifted material, and the ground around the house for pieces of roofing that blew off. If you find anything, document it with photos before calling your insurance company. Most San Bernardino homeowners’ policies cover wind damage, but documentation matters.
For anything beyond what you can see from the ground, a professional Roof Repair in San Bernardino assessment is the fastest way to know whether you’re dealing with a $300 repair or a $15,000 replacement.
UV Granule Loss on Asphalt Shingles: How to Measure and What It Means
San Bernardino averages more than 280 days of sun per year. That’s not a marketing line; that’s a measurable environmental fact that directly affects how asphalt shingles age. The granules on an asphalt shingle are not decorative. They’re the UV shield. They protect the asphalt substrate, which is the actual waterproofing layer. When granules come off, the asphalt is exposed to direct radiation, and it degrades fast.
Here’s how to measure granule loss properly:
- Check the gutter line. After a dry spell, look in your gutters. Some granule accumulation is normal during the first year of shingle life. Beyond year three, a visible accumulation of granules in the gutter after every dry month means accelerated loss.
- Look for color variation. As granules wear off, the shingle surface shows inconsistent coloration. Darker patches are areas where the asphalt is exposed or the granule layer has thinned. This is the earliest visible sign of UV degradation.
- Run a gloved hand over the shingle surface. If you’re on the roof (or having a professional do it), a light brush of the hand across the surface tells you a lot. If granules come off onto the glove, the shingle has reached the point where it’s actively shedding. If the surface feels smooth and glassy in spots, the granules are already gone and the asphalt is hardening.
- Count the bald spots. Any area larger than a quarter where the asphalt is visible is a replacement indicator, not a repair indicator. One or two small bald spots on a twenty-year-old roof is expected. Multiple spots on a twelve-year-old roof means the shingle was either defective from the manufacturer or installation was flawed.
The rate of loss matters more than the total amount. A roof in San Bernardino that loses granules at twice the rate of the same shingle in coastal Orange County is telling you it’s aging on an accelerated UV curve. When we inspect, we’re looking at the loss rate as a predictor of remaining life, not just a snapshot of current condition.
Concrete Tile Maintenance in San Bernardino’s Alkaline Dust Environment
San Bernardino has a specific environmental problem that most roofing guides never mention: alkaline dust. The soil in the Inland Empire is naturally high in calcium carbonate and other alkaline minerals. When wind kicks up that dust and deposits it on roofs, it does two things. It accelerates efflorescence on concrete tile, and it creates a fine particulate layer that traps moisture against the tile surface.
Here’s what to look for on concrete tile roofs in San Bernardino:
- Efflorescence. This is the white, chalky deposit that appears on concrete tile surfaces. In San Bernardino, efflorescence is primarily caused by alkaline dust interacting with the tile’s mineral content during morning dew cycles. It’s cosmetic in most cases, but heavy efflorescence can indicate water is moving through the tile in ways it shouldn’t be.
- Mortar joint cracking. The mortar used to bed ridge caps and hip tiles expands and contracts with temperature swings. San Bernardino’s temperature swings are extreme, regularly exceeding a 40-degree range in a single day during fall. Mortar joints crack under this cycling. Once a joint cracks, water gets in, and the freeze-thaw cycle (yes, San Bernardino does get frost at higher elevations) widens the crack faster than most homeowners expect.
- Debris dam buildup. This is the most overlooked issue on tile roofs in the Inland Empire. Dust, leaves, pine needles, and bird activity collect in the valleys and behind the first course of tile at the eave. When debris builds up, it creates a dam that holds water against the underlayment for days after rain. The underlayment is the actual waterproofing layer on a tile roof; the tile is just the protective shell. If the underlayment rots, the roof leaks even though every tile looks fine.
One more thing specific to San Bernardino: at elevations above about 1,500 feet (which includes much of north San Bernardino and the Verdemont area), you’re in a different microclimate than the valley floor. Frost cycles are more common, which makes mortar joint and tile crack inspection more urgent every spring.
Post-Summer Attic Temperature Check: Finding Ventilation Failures with an Infrared Thermometer
Most homeowners think about attic ventilation wrong. They think it’s about comfort. It’s actually about roof lifespan. An under-ventilated attic in San Bernardino can reach 150 degrees in August. At that temperature, asphalt shingles are baking from both sides, and the sheathing underneath is drying out, warping, and delaminating. This is how a 20-year shingle becomes a 12-year shingle.
Here’s a simple test you can do with an infrared thermometer, the kind that costs about $30 at any hardware store:
- Take a baseline reading in spring. On a mild day (75 degrees outside), measure the underside of your roof decking from inside the attic. Note the temperature. This is your baseline for a properly functioning ventilation system.
- Take a reading in August, late afternoon. The outside temperature at 4:00 PM in August in San Bernardino sits between 95 and 105 degrees. A properly ventilated attic should read no more than 15 to 20 degrees above outside temperature. So if it’s 100 outside, a healthy attic reads 115 to 120. If your attic reads 140 or higher, your ventilation has failed.
- Check the difference between intake and exhaust. Intake vents are at the eaves; exhaust vents are near the ridge. Warm air rises. The temperature at the ridge-side of the attic should be consistently higher than at the eave-side. If both are equal and high, air isn’t moving.
- Look for hot spots. Walk the attic with the thermometer and scan the decking. A variation of more than 10 degrees between adjacent sections of the same roof plane indicates blocked airflow, often from debris, insulation blocking soffit vents, or a failed baffle.
Ventilation failure doesn’t fix itself. And it’s not a code-optional upgrade in San Bernardino; it’s fundamental to how your roof delivers its full service life. When we inspect roofs for repair decisions, we always check ventilation before recommending new shingles. If the ventilation is broken, new shingles will fail early. The problem gets replaced before the root cause is addressed.
Maintenance Tasks That Can Void Manufacturer Warranties
This section matters because manufacturer warranties are specific documents with specific exclusions. Homeowners lose warranty coverage every year by doing maintenance that seems innocent.
Here’s the list of tasks you should not do yourself, because doing them incorrectly can void your shingle manufacturer’s warranty:
- Pressure washing any shingle roof. Pressure washing asphalt shingles strips granules, which is the leading cause of premature UV failure. GAF, CertainTeed, Owens Corning, and IKO all specifically exclude pressure washing from covered maintenance. If a contractor offers to pressure wash your roof, decline.
- Sealing or coating shingles with any product. Spray-on roof sealants, silicone coatings, and “reflective” treatments alter the shingle’s thermal properties and often trap moisture. Most manufacturer warranties are voided by any surface treatment not specified by the manufacturer.
- Nailing or stapling anything to the roof surface. Holiday decorations, satellite dish mounts, and DIY repair patches create penetrations that aren’t flashed. Unflashed penetrations are excluded from warranty coverage.
- Walking on concrete tile without proper technique. Concrete tile cracks under point loads. A homeowner walking the ridge line or stepping mid-tile can crack tiles that then leak. Once a homeowner damages tiles by improper foot traffic, the tile manufacturer’s performance warranty is void for that section.
- Removing and resetting flashing without replacing the fasteners. Flashing fasteners are one-use in most manufacturer specs. Reusing them is a warranty exclusion.
The rule of thumb: if the task requires accessing the roof surface, removing material, or applying any product to the roofing material, it’s a contractor task. The manufacturers whose products we install with Ridge Cap Roof Repair, across seven different product lines, all publish maintenance guidelines. We keep those documents on hand and work within them. That’s part of why we inspect before we recommend, rather than the reverse.
Month-by-Month Maintenance Calendar for San Bernardino
This is the calendar version of everything above. It’s sequenced for San Bernardino’s actual climate pattern: dry, hot summers followed by wind season, then a short, intense rainy season.
January – February: Rain Season Inspection
This is San Bernardino’s rainy period. Check ceilings and attic spaces for water stains after each significant rain. Check the ground around the house for roof debris that washed down. Verify gutters and downspouts are flowing. If you see water stains, mark them with a pencil so you can tell if the stain grows between rains.
March – April: Post-Rain Repair Window
The rain has stopped, and temperatures are mild. This is the best time in San Bernardino to schedule any roof repair work that was identified during winter. The weather is predictable, and materials are easier to work with at moderate temperatures. Sealant and mortar both cure better in spring than in summer heat.
May – June: Pre-Summer Ventilation Check
Before the first 100-degree day, do the infrared thermometer baseline test described above. Check soffit vents for dust and debris blockage. San Bernardino’s spring winds deposit fine dust in vent openings. Verify attic exhaust vents are clear. This is also the time to check for granule accumulation in gutters from the previous summer’s UV exposure.
July – August: High Heat Monitoring
Monitor attic temperature during the hottest weeks. Check for any visible roof deformation, especially on western exposures that take the brunt of afternoon sun. Asphalt shingles get soft and pliable in extreme heat, which makes them more vulnerable to foot traffic damage. Avoid any roof work during this period unless it’s an active leak repair.
September: Pre-Santa Ana Inspection
This is the most important month on the calendar. Complete the full pre-Santa Ana checklist described above: ridge caps, rake edges, flashing fasteners, and vent baffles. Do this before the winds start. Once wind season hits, any loose component becomes a project.
October – November: Wind Season Monitoring
After each significant Santa Ana event, do the post-wind damage check described above. Look for lifted material, missing ridge caps, and debris impact. Document everything. This is also when most insurance claims are filed in San Bernardino.
December: End-of-Year Assessment
Summarize what the year revealed. If you did repairs, note them. If you saw repeated issues in one area of the roof, that’s a signal that the underlying problem is bigger than the symptom. This is the time to consider whether a professional Roof Inspection in San Bernardino makes sense before the next rain season.
Common Mistakes to Avoid
- Cleaning gutters but never looking at what’s in them. The material in your gutters tells you what’s happening on your roof. Granule accumulation means shingle wear. Mortar chips mean ridge cap degradation. Tile fragments mean impact damage. Empty the gutters, but read them first.
- Walking the roof for personal inspection. This is the single most common cause of damage we see on otherwise healthy roofs. Shingle scuffing, tile cracking, and compression damage to decking all come from foot traffic. Inspect from the ground or hire a professional.
- Ignoring small leaks because they’re small. A small leak in San Bernardino means a wet spot on the ceiling that’s been active for months. By the time it shows on the interior, the decking underneath is already compromised. Small leaks are never small.
- Painting over water stains without fixing the source. We see this constantly in San Bernardino. The ceiling gets a fresh coat of paint, the leak continues underneath, and the next time it shows it’s a ceiling replacement, not a paint job.
- Replacing shingles but not addressing ventilation. We covered this above, but it bears repeating because it’s the most expensive mistake on this list. New shingles over broken ventilation is a guaranteed early failure.
- Assuming a concrete tile roof doesn’t need maintenance. Tile is durable, but it’s not maintenance-free. The underlayment under the tile has a service life, and when it fails, the tile looks fine while the roof leaks. Tile roofs in San Bernardino need inspection every 2 to 3 years.
- Putting off the pre-Santa Ana check because it didn’t wind much last year. The one year you skip is the year the winds come. And they come almost every year in San Bernardino.
When to Call a Professional
If you’ve spotted any of the following, a professional assessment is the right move: visible daylight through the roof decking in the attic, active water intrusion during rain, lifted or missing ridge cap sections, multiple cracked tiles, granule loss that covers more than 30% of any roof plane, or attic temperatures consistently 25+ degrees above outside temperature. These are not homeowner-maintenance items. They’re repair decisions. Ridge Cap Roof Repair offers free estimates in San Bernardino; call (866) 361-0798 to schedule one. We inspect before we recommend, and we’ll tell you honestly whether repair makes sense or replacement is the right call.
Frequently Asked Questions
How often should a San Bernardino homeowner have their roof inspected?
Every two years for most roofs, and annually for roofs over 15 years old or any roof that’s been through a major Santa Ana wind event. San Bernardino’s UV load and dust environment accelerate roof aging, so the inspection cadence should be more frequent than coastal or northern California standards. A professional Roof Inspection in San Bernardino catches the small issues before they become leaks.
How much does a roof maintenance inspection cost in San Bernardino?
Many San Bernardino roofers offer inspection as a paid service in the range of $150 to $400, though Ridge Cap Roof Repair offers free estimates for repair and replacement assessments. The cost varies based on roof accessibility, pitch, and whether the inspection includes attic access and ventilation evaluation. Some insurers require paid inspections before covering wind damage claims, so check your policy.
What is the most common roof problem in San Bernardino specifically?
UV-driven granule loss on asphalt shingles and mortar joint failure on concrete tile ridge caps. Both are accelerated by San Bernardino’s intense summer sun and the alkaline dust that settles on roof surfaces between rains. Wind damage from Santa Ana events is the most common sudden failure, but these two issues are what we see developing slowly across thousands of roofs in the area.
Will my insurance cover Santa Ana wind damage in San Bernardino?
Most San Bernardino homeowners’ policies cover wind damage, but coverage depends on your specific policy, your deductible, and whether the damage is classified as sudden or progressive. Sudden damage from a specific wind event is typically covered. Progressive damage from years of deferred maintenance is not. Document any wind damage with photos and contact your insurer promptly.
Can I do roof maintenance myself to save money in San Bernardino?
Ground-level work, yes. That includes visual inspection from the perimeter, gutter reading, attic temperature checks with an infrared thermometer, and post-wind damage observation. Anything that requires walking the roof surface, removing material, or applying any product to the roofing system should be done by a professional. Improper DIY maintenance is how warranties get voided and small problems become large replacements.
How long should a roof last in San Bernardino’s climate?
Asphalt shingle roofs in San Bernardino typically deliver 15 to 20 years of service, compared to 20 to 25 years in coastal climates. Concrete tile roofs can last 40 to 50 years, but the underlayment typically needs replacement every 20 to 25 years. These are accelerated aging timelines driven by UV exposure, heat cycling, and alkaline dust. When the time comes for Roof Replacement in San Bernardino, material selection should account for these San Bernardino-specific stresses, which is why we work across seven manufacturers to match materials to conditions.
The Bottom Line
San Bernardino roofs fail differently than roofs in most of California. The sun ages them faster, the dust corrodes them slowly, and the wind finds every weak point in a single night. A maintenance routine built for this climate needs to be proactive around wind season, honest about UV degradation, and disciplined about checking the details most people never look at: ridge caps, rake edges, ventilation, and granule loss. The roof over your head is the highest-stress building component on your home, and in San Bernardino, it’s working harder than any roof in the state. Check it every season. Fix what’s broken before the wind does.
If you’d like a professional assessment of your roof’s condition, call Ridge Cap Roof Repair at (866) 361-0798 for a free estimate. We inspect before we recommend, repair when it makes sense, and replace when it doesn’t. From the ridge cap down, we’ll help you understand exactly what your roof needs in San Bernardino.
Written by the team at Ridge Cap Roof Repair home, serving San Bernardino since 2018.
See the difference
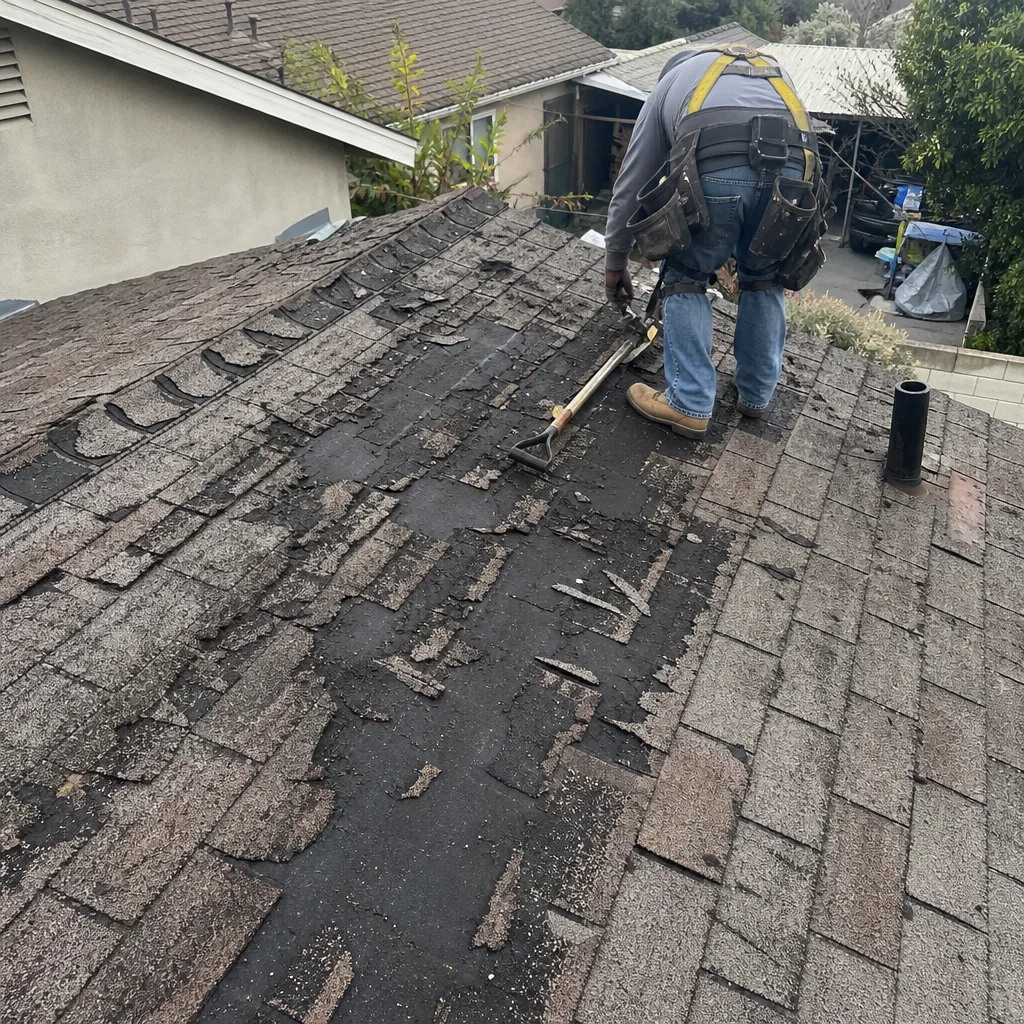 Before
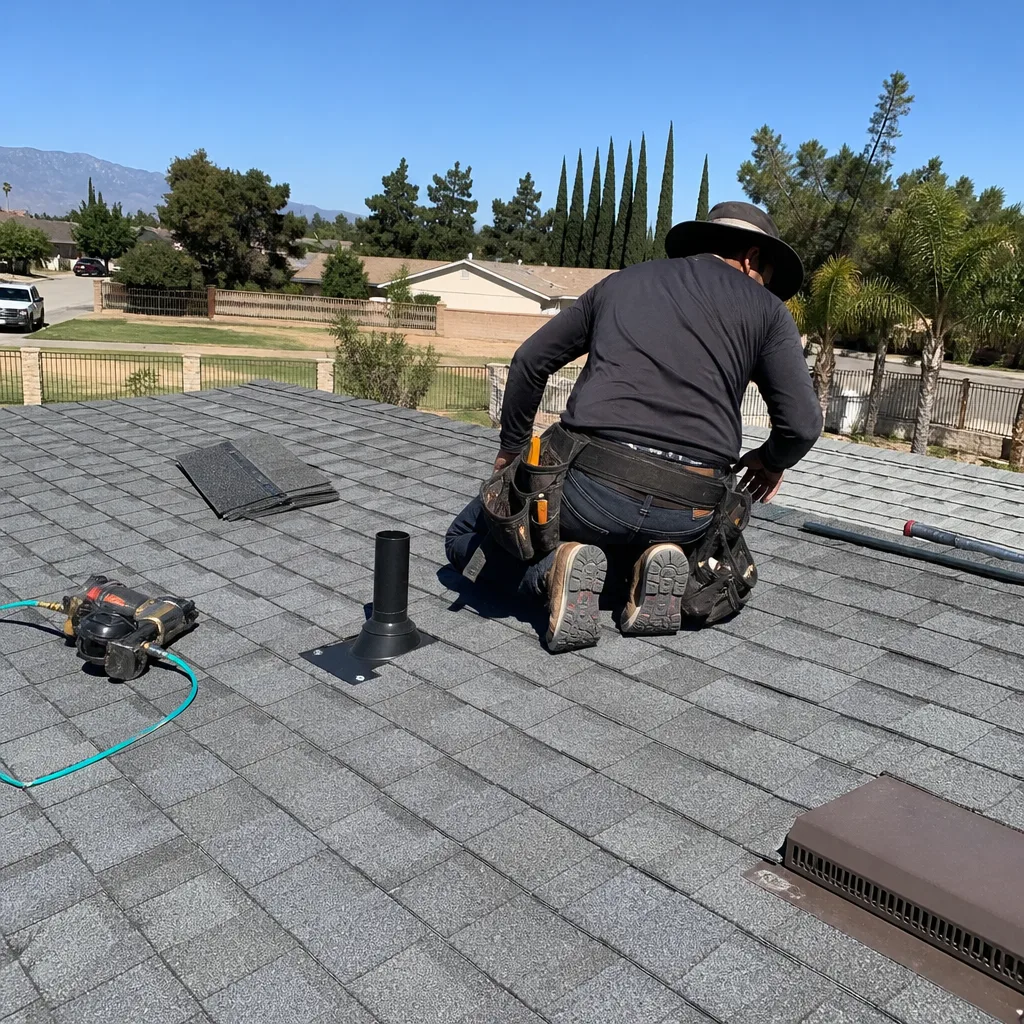 After
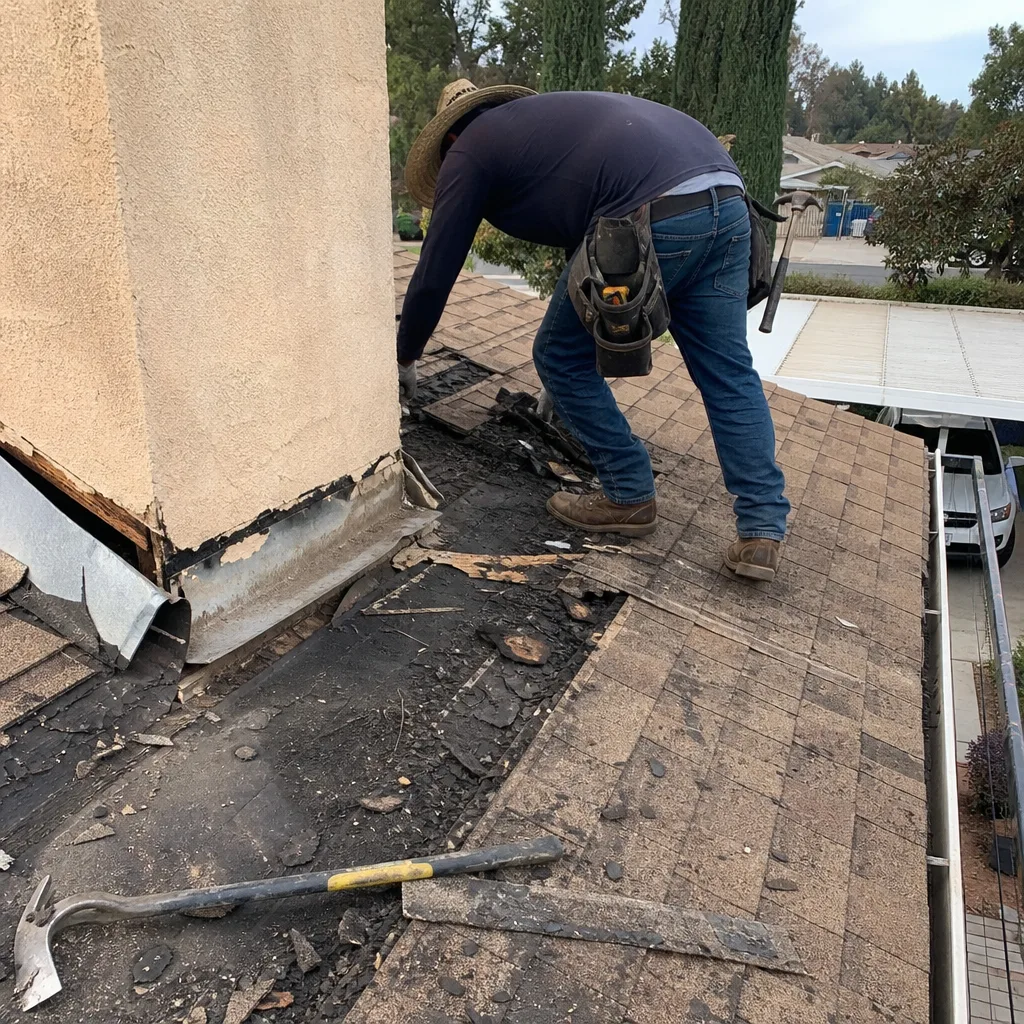 Before
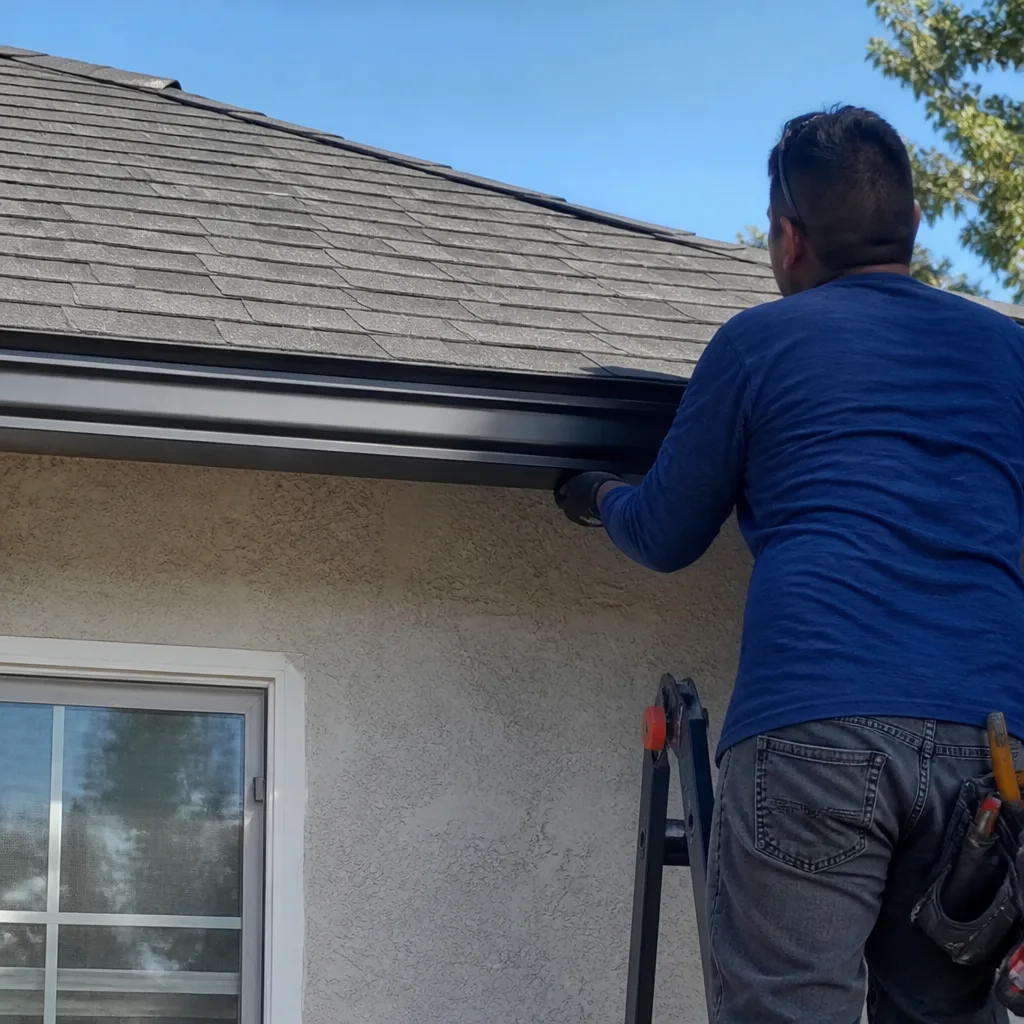 After
 Before
 After